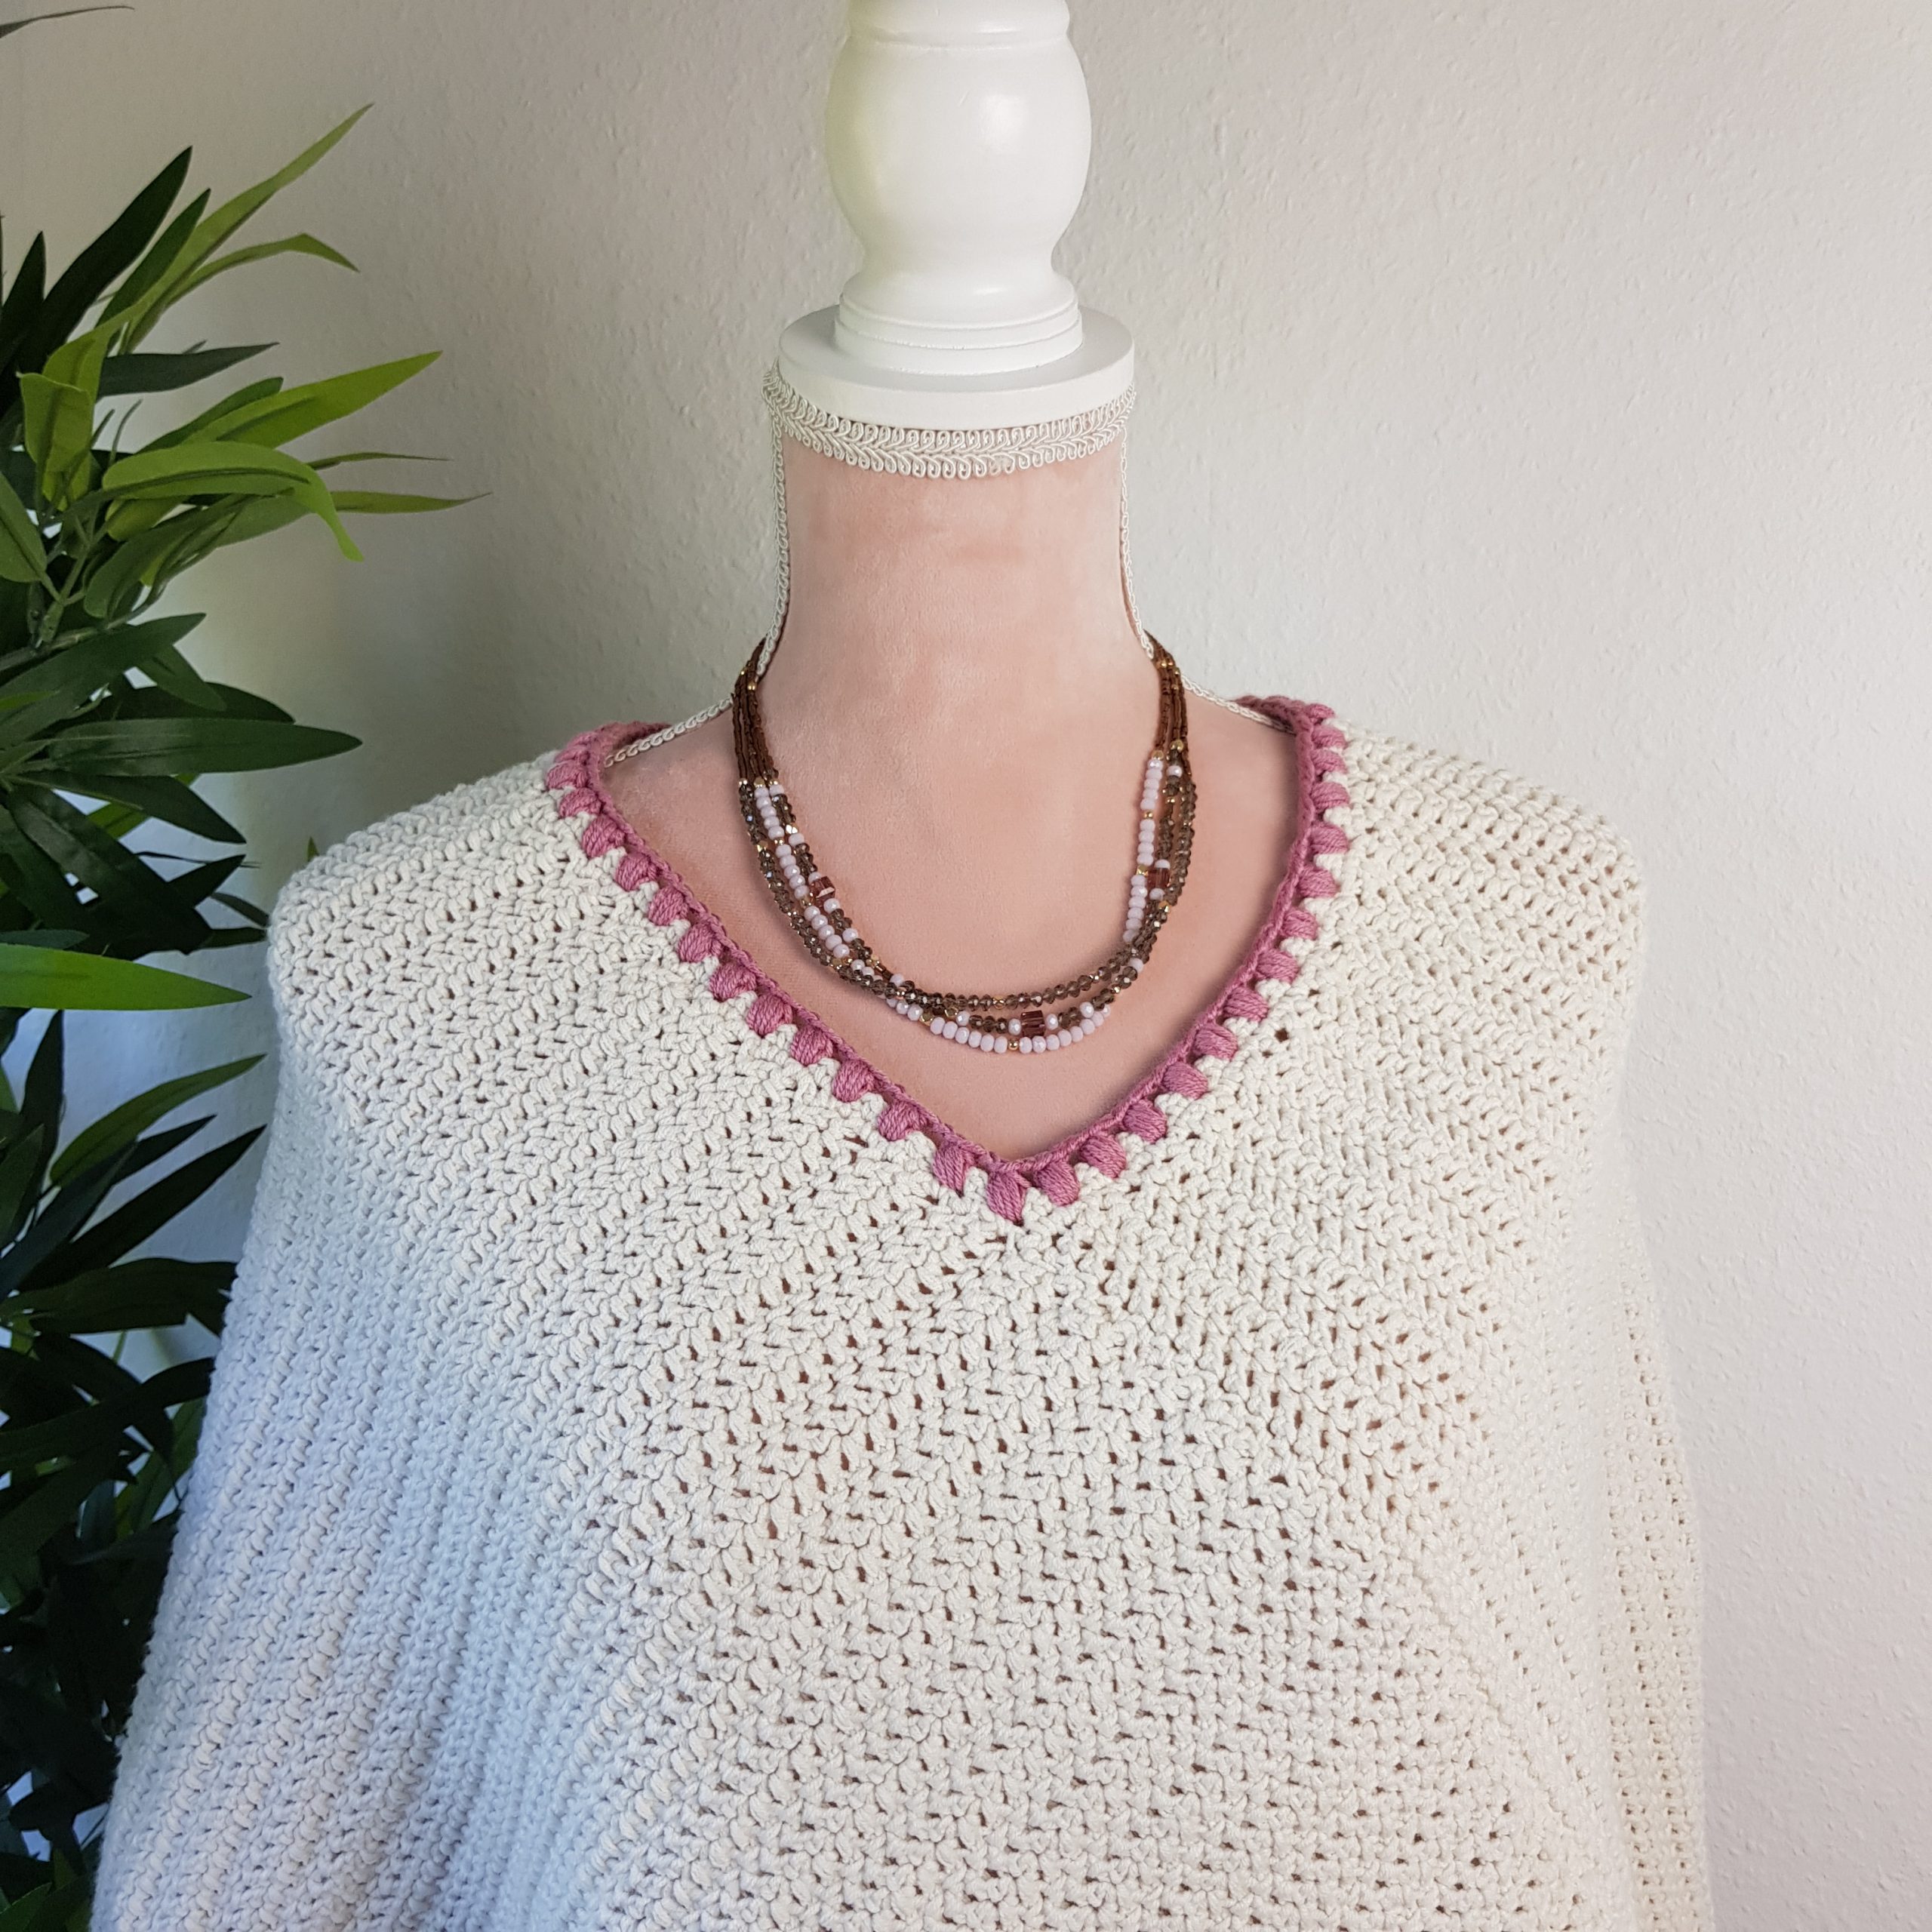
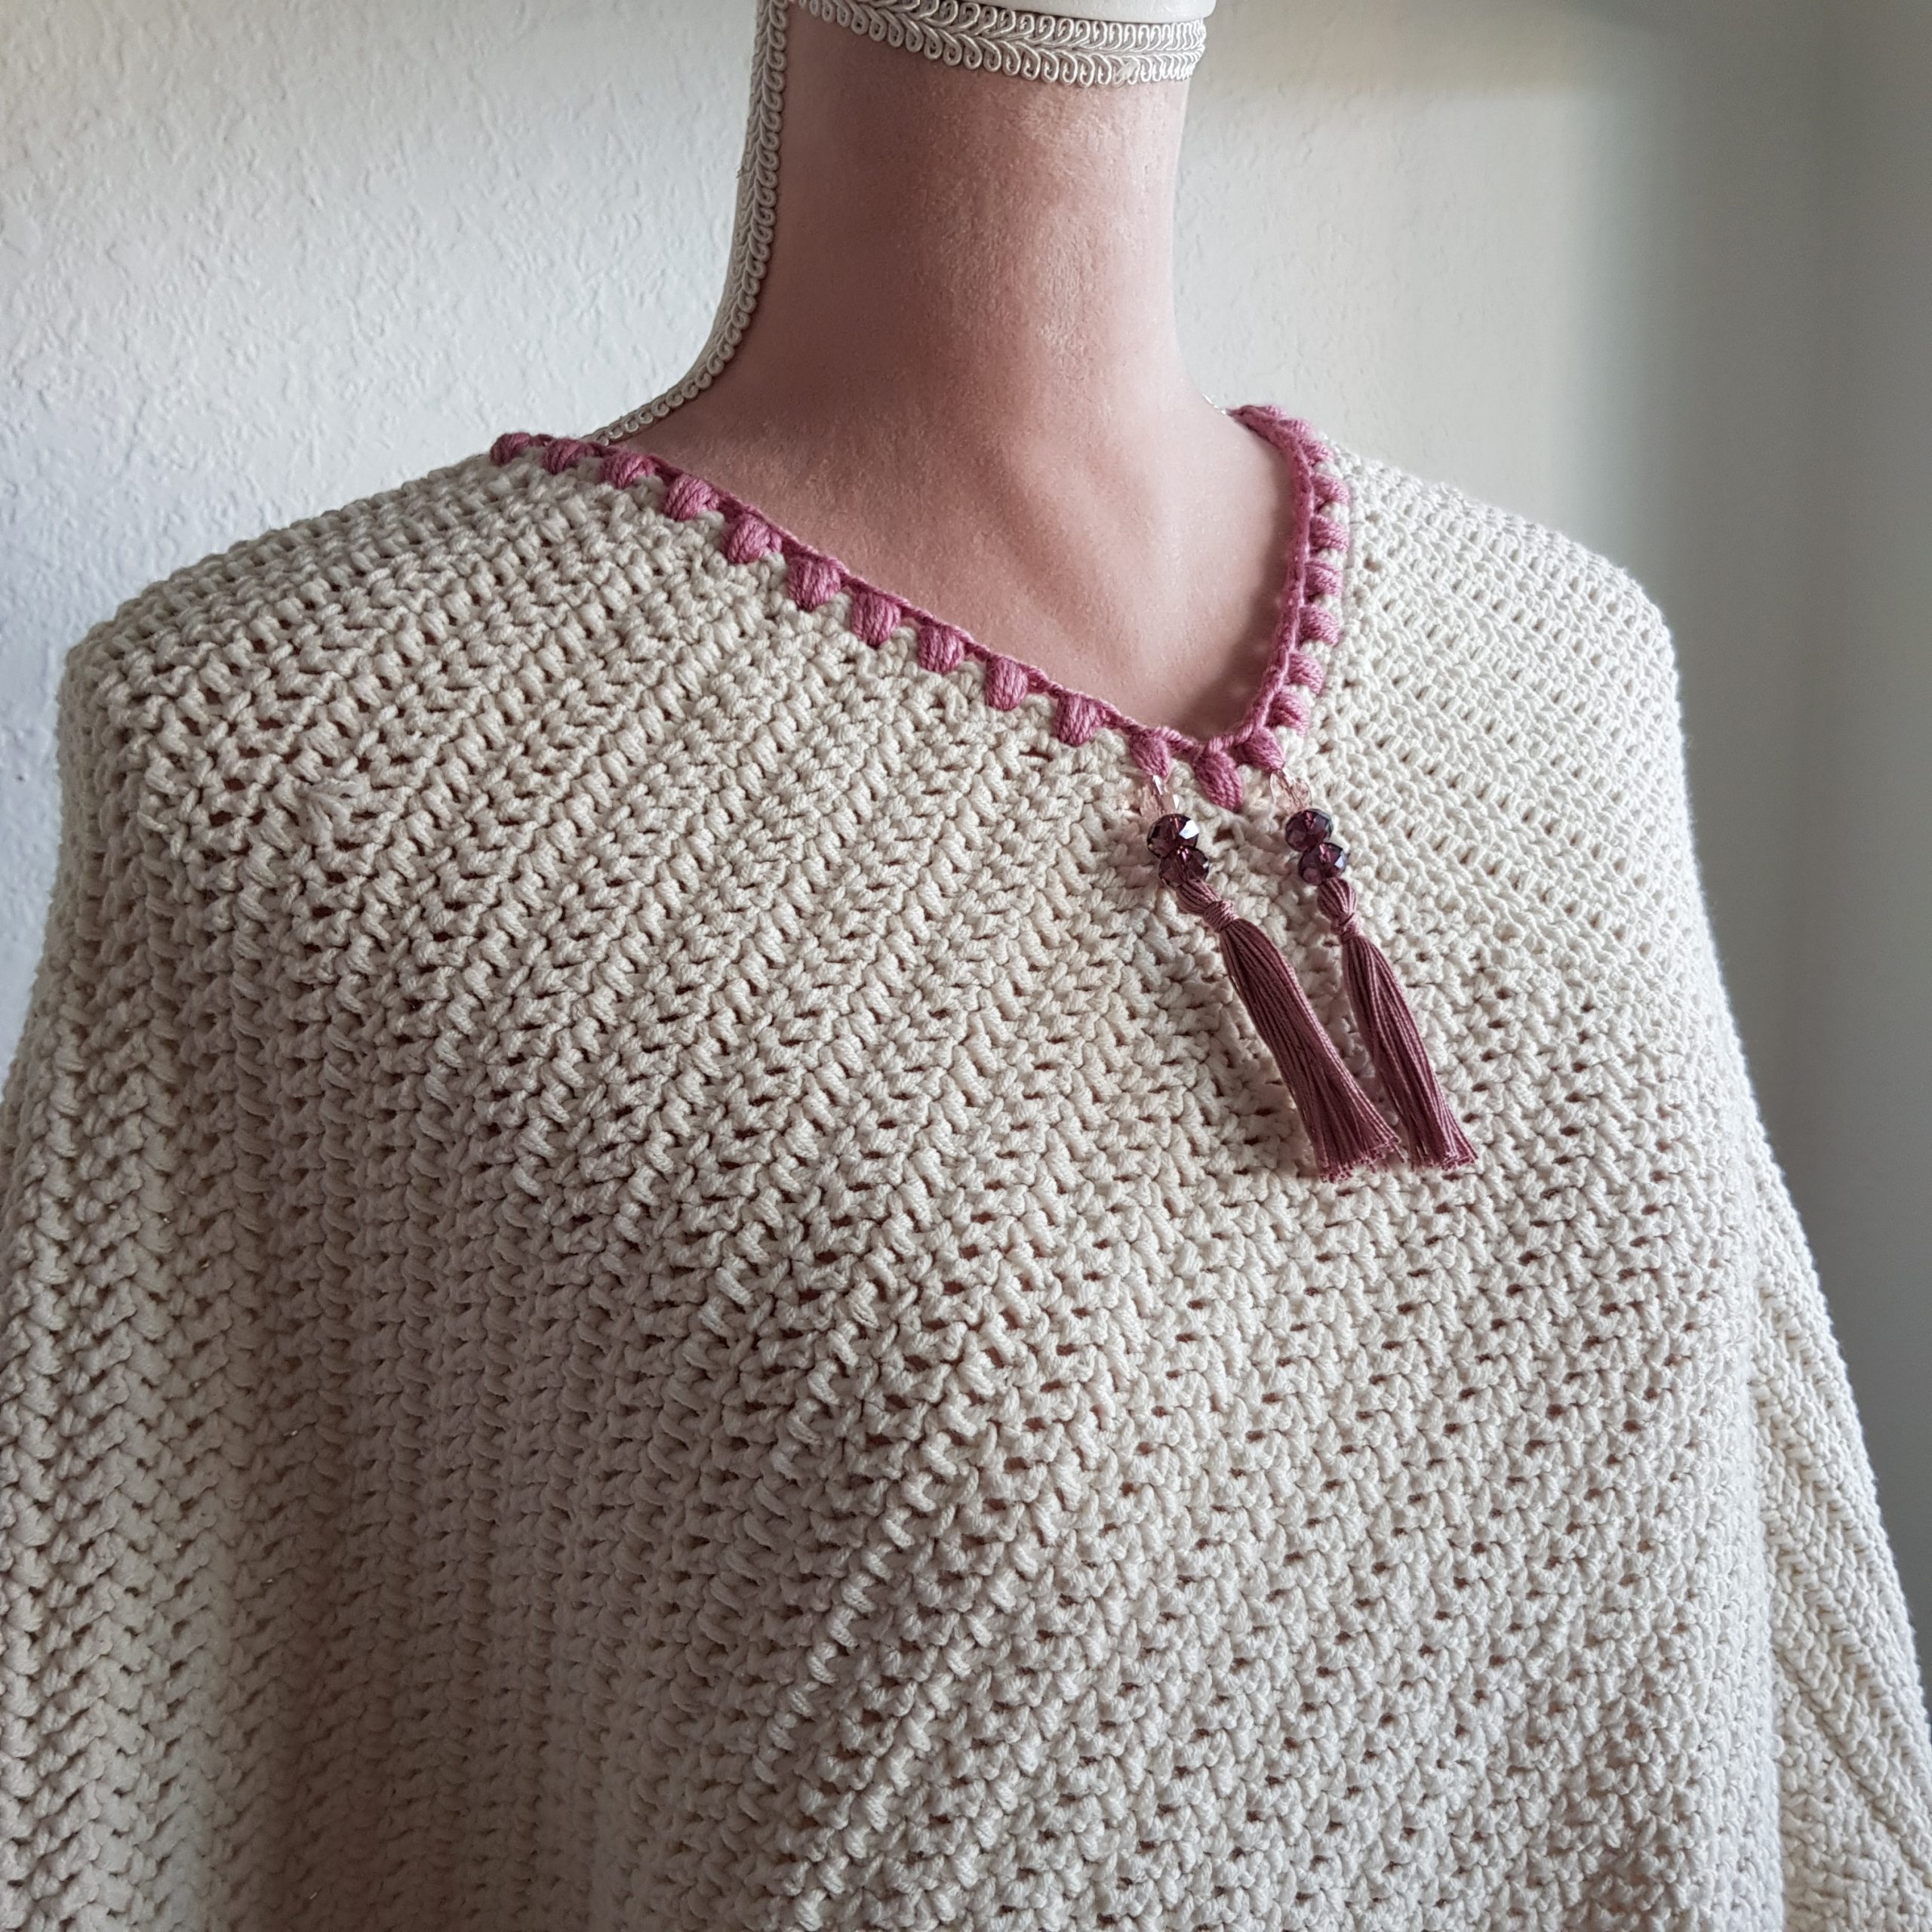
TOPAZ PONCHO
Please use #topazponcho and #bymimzan in social medias so I can find your lovely photos
If you like to support my work as a crochet designer, buy me a cup of coffee 🙂
SIZE: One Size
YARN: Scheepjes Soft Fun 6 skeins colour nr 2426 and Scheepjes Merino Soft 2 skeins colour nr 634
HOOK: 4,0 mm and 4,5 mm
STITCHGUIDE:
ch – chain
slst – slst
sc – single crochet
dc – double crochet
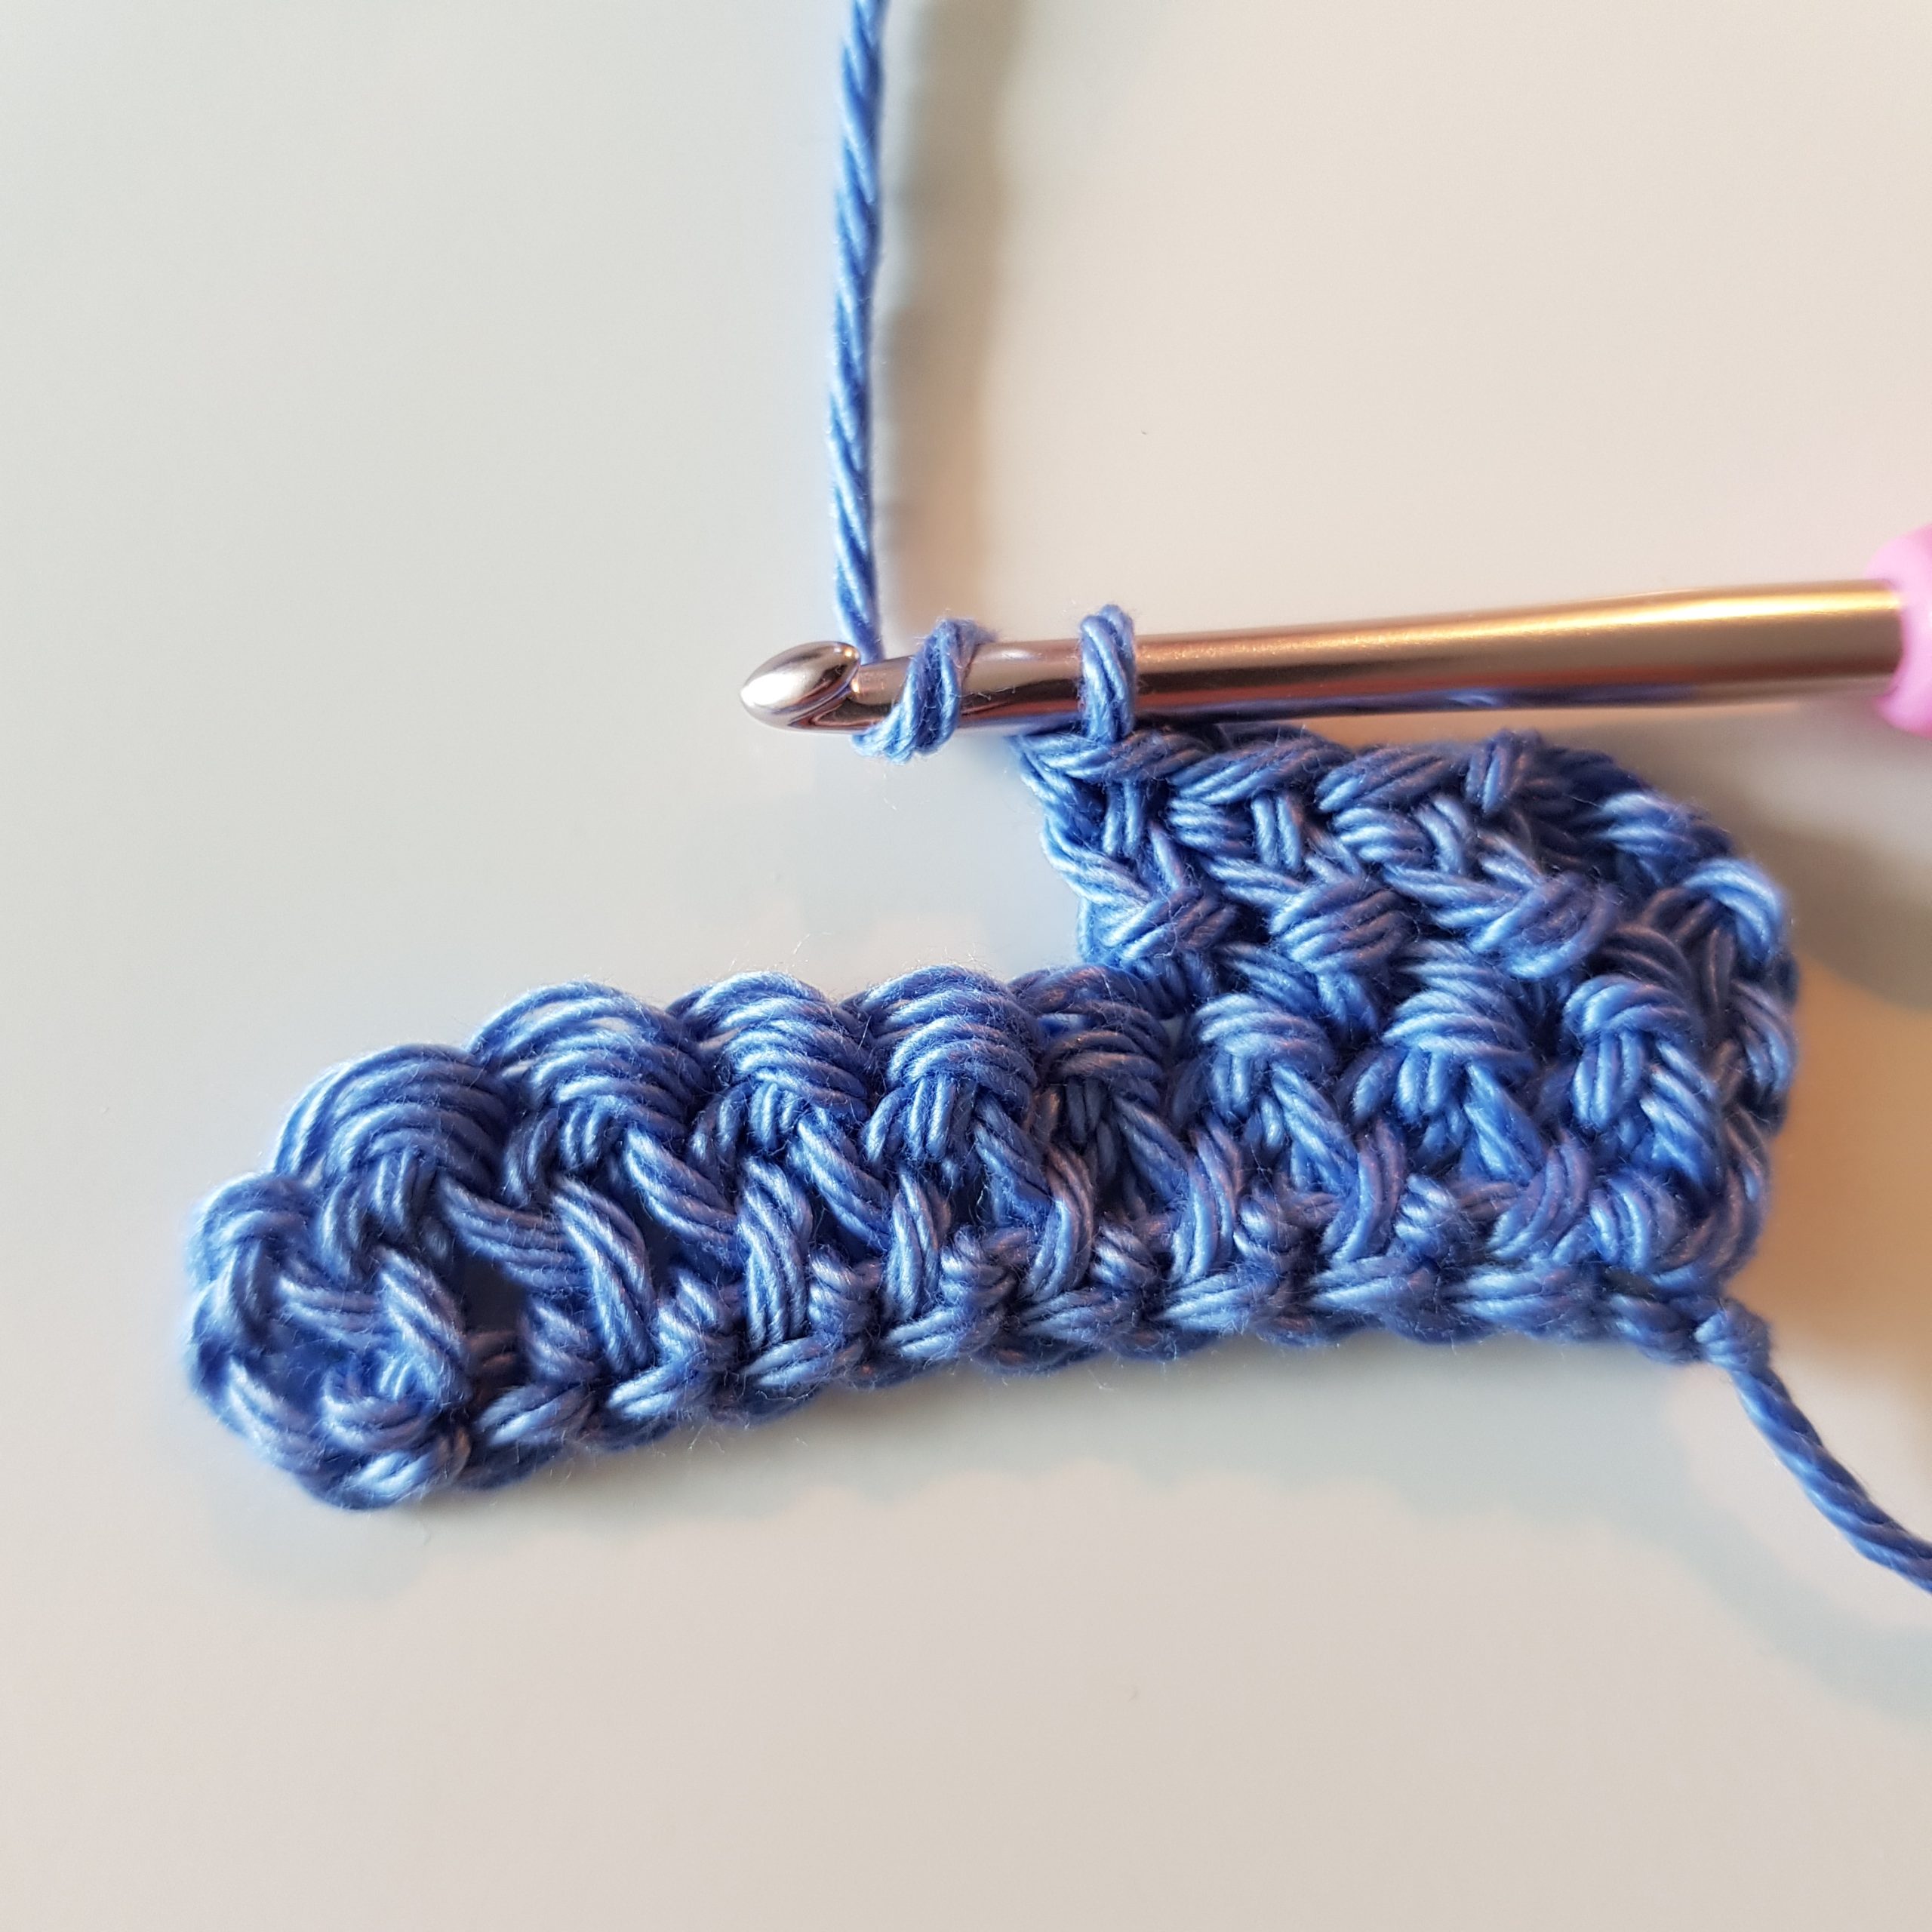
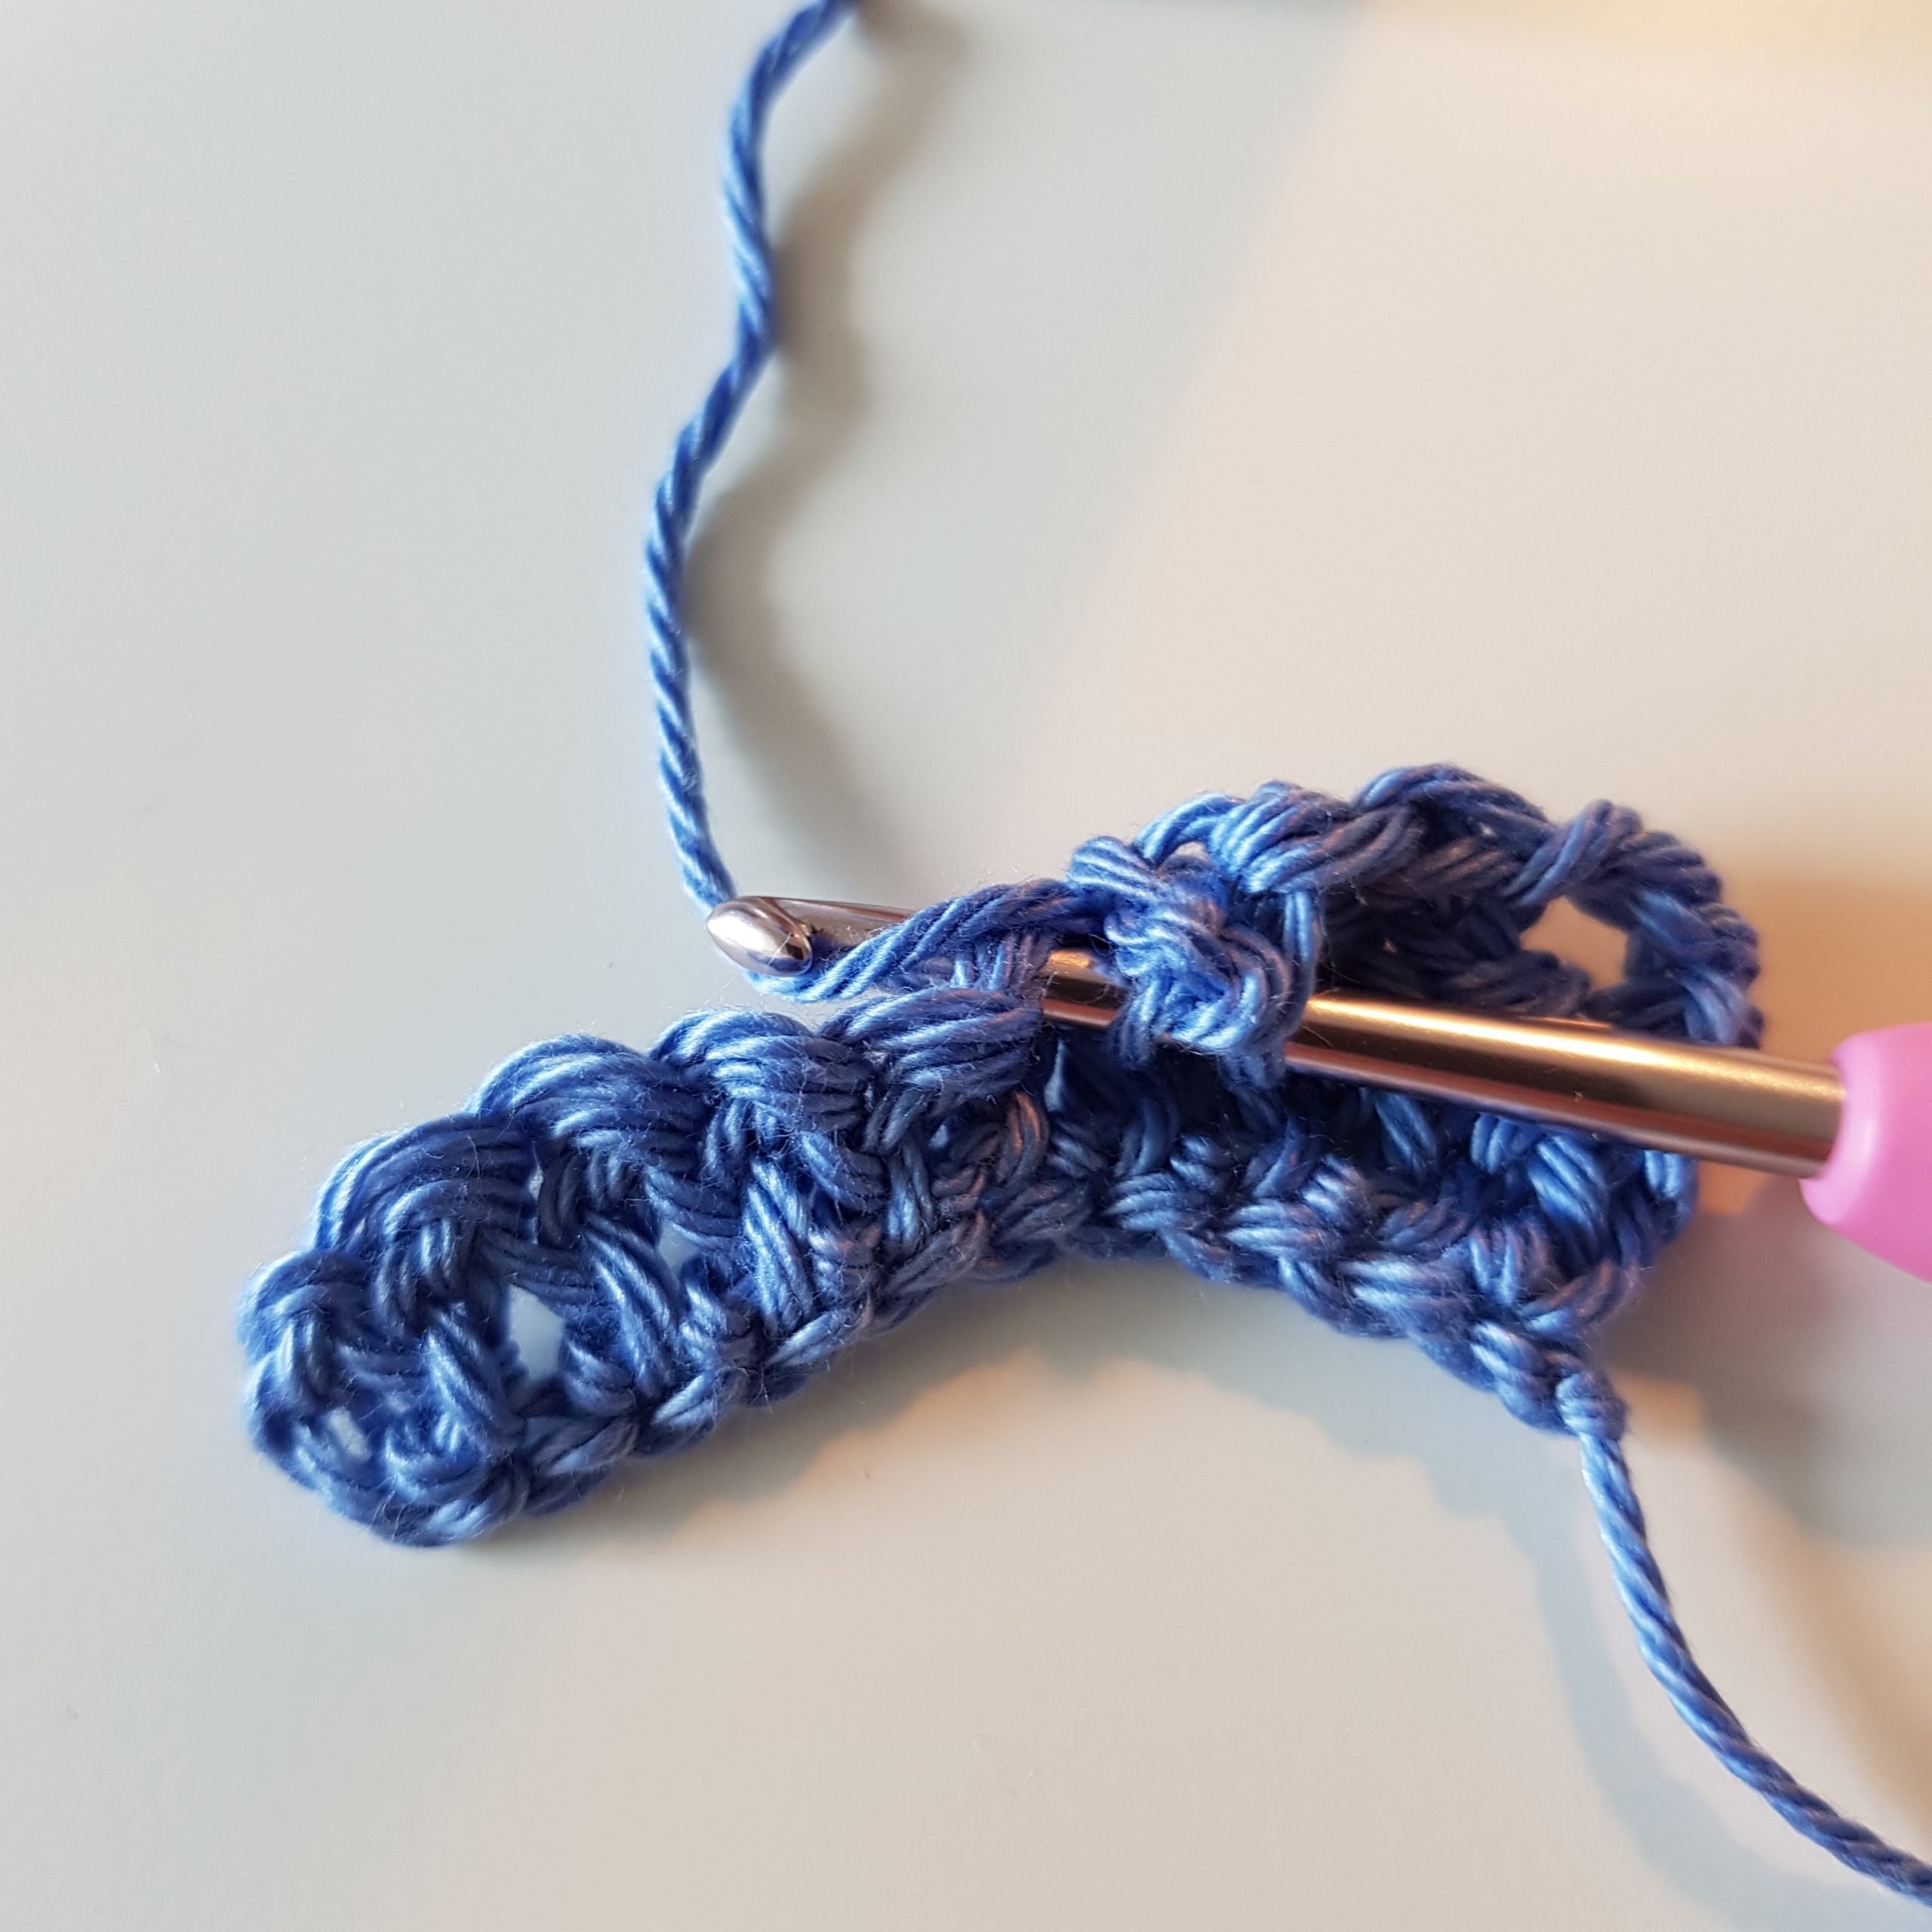
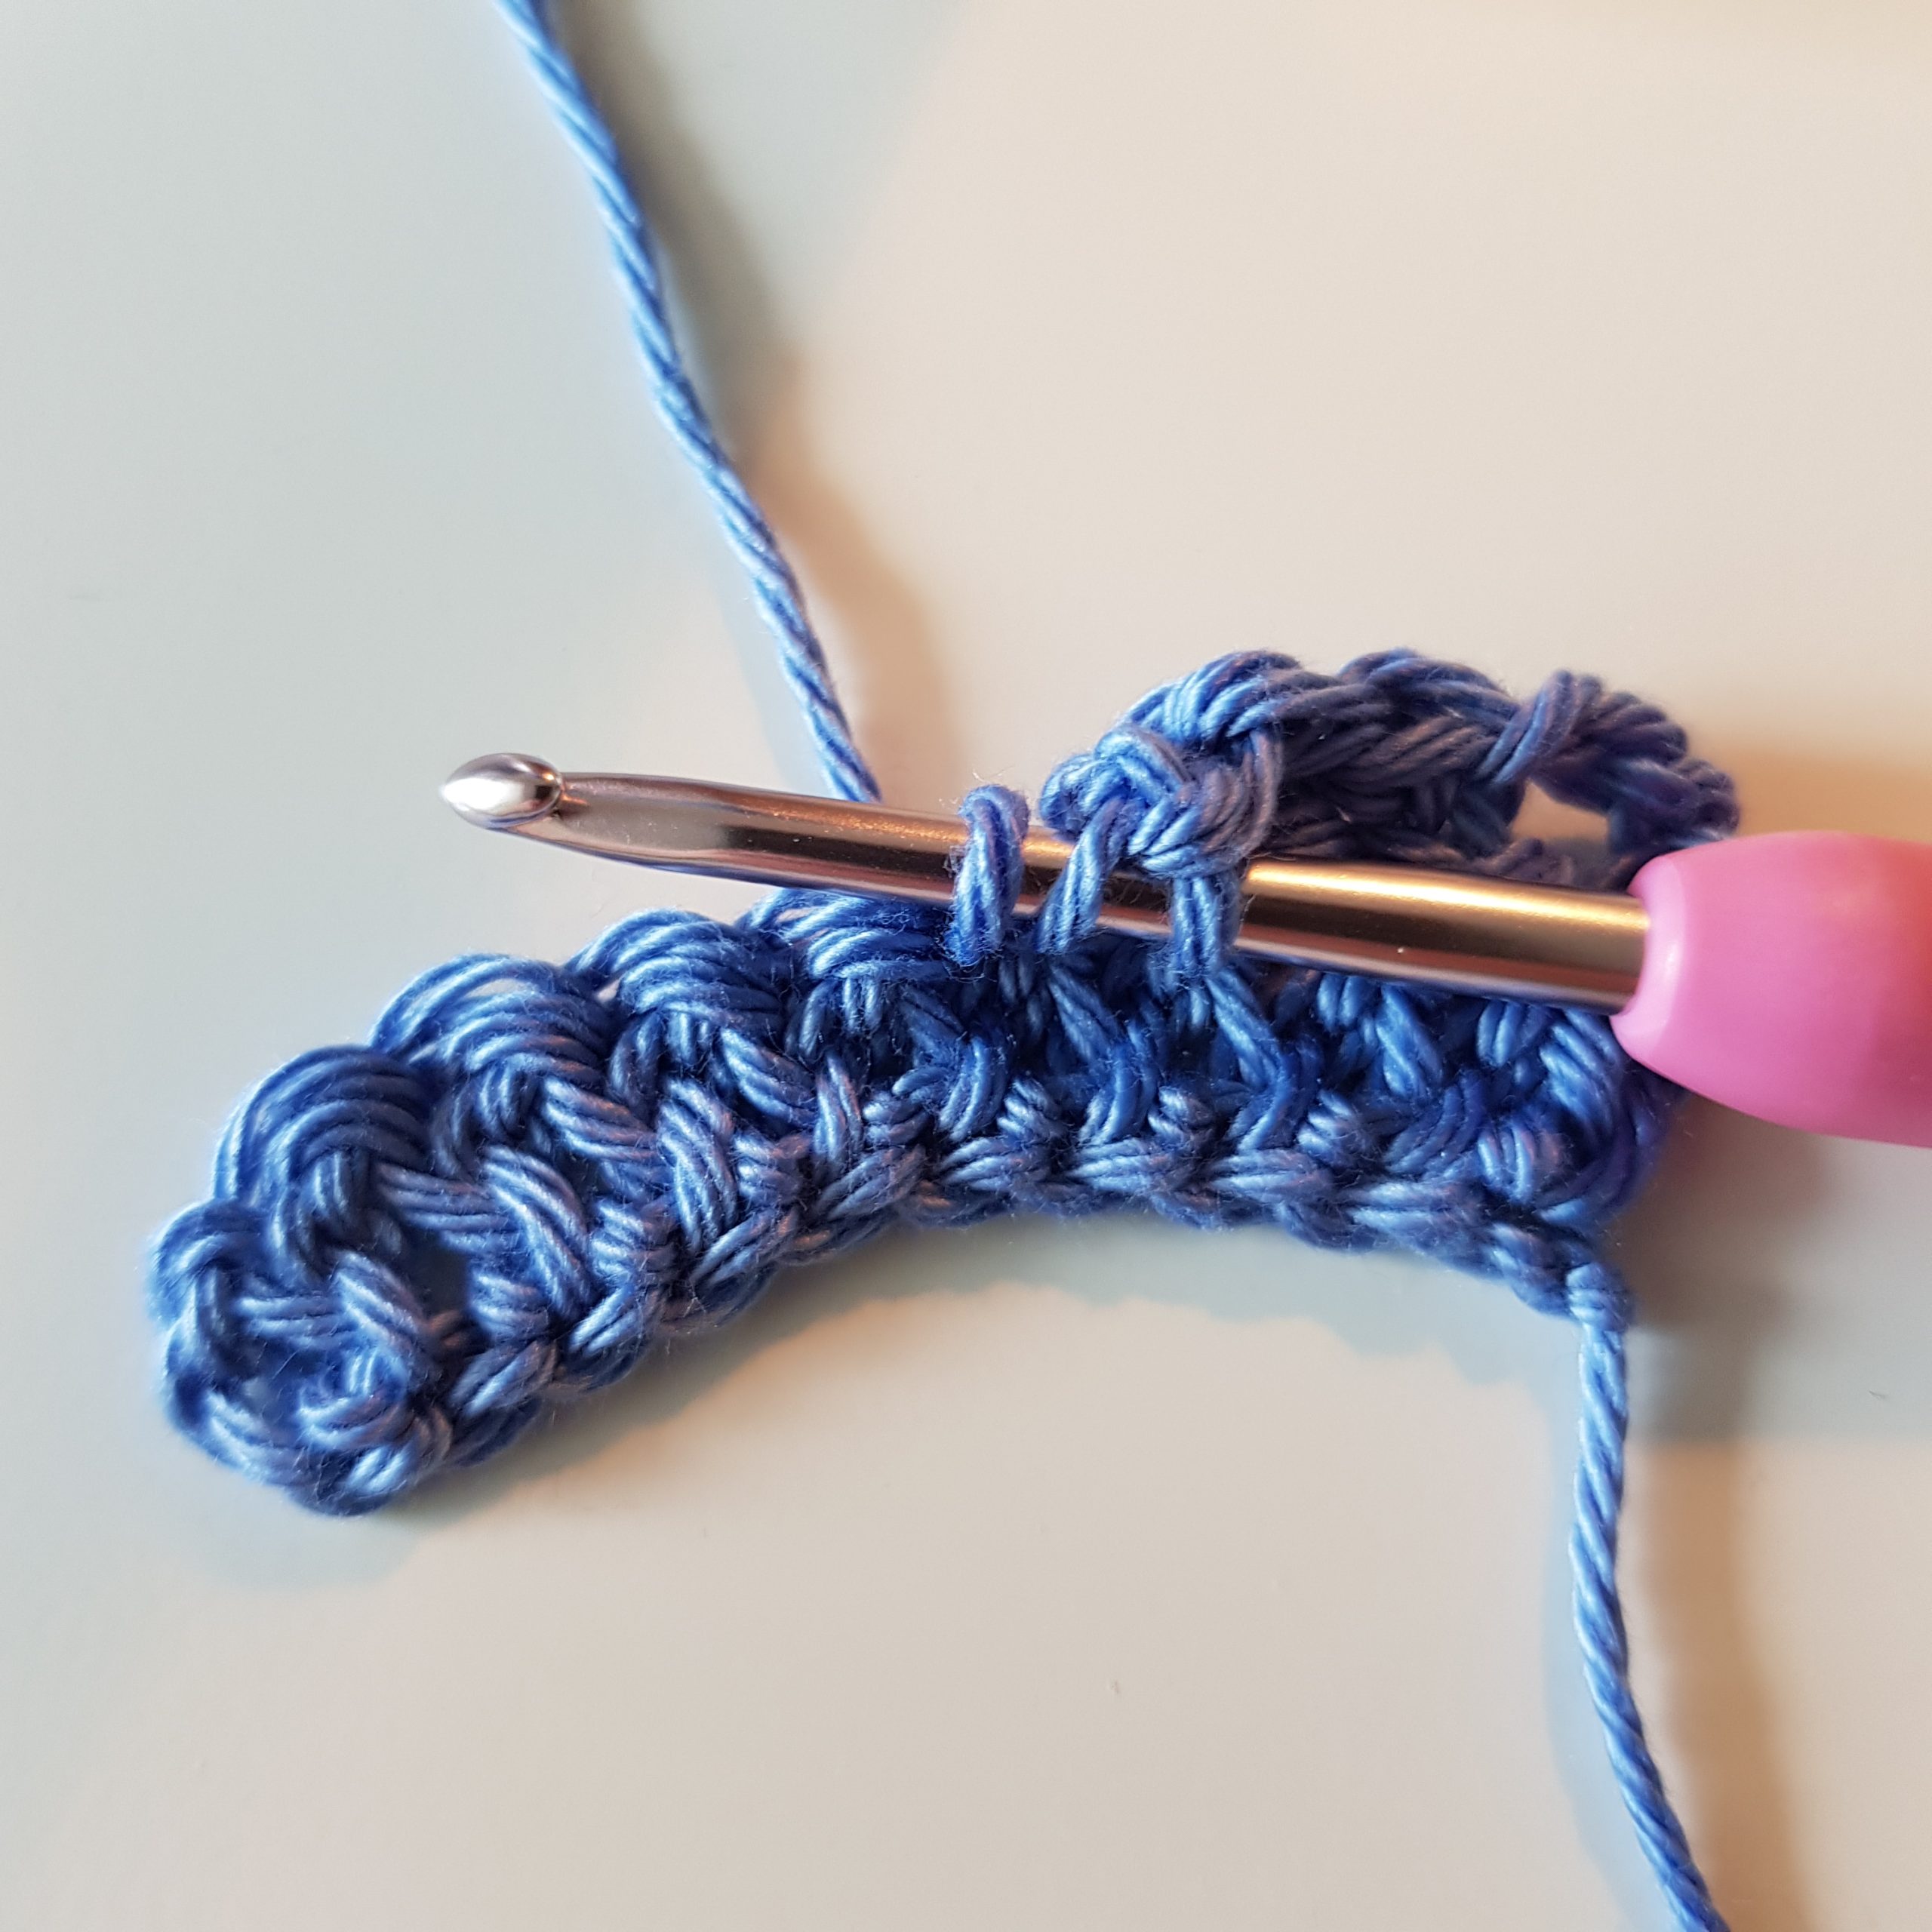
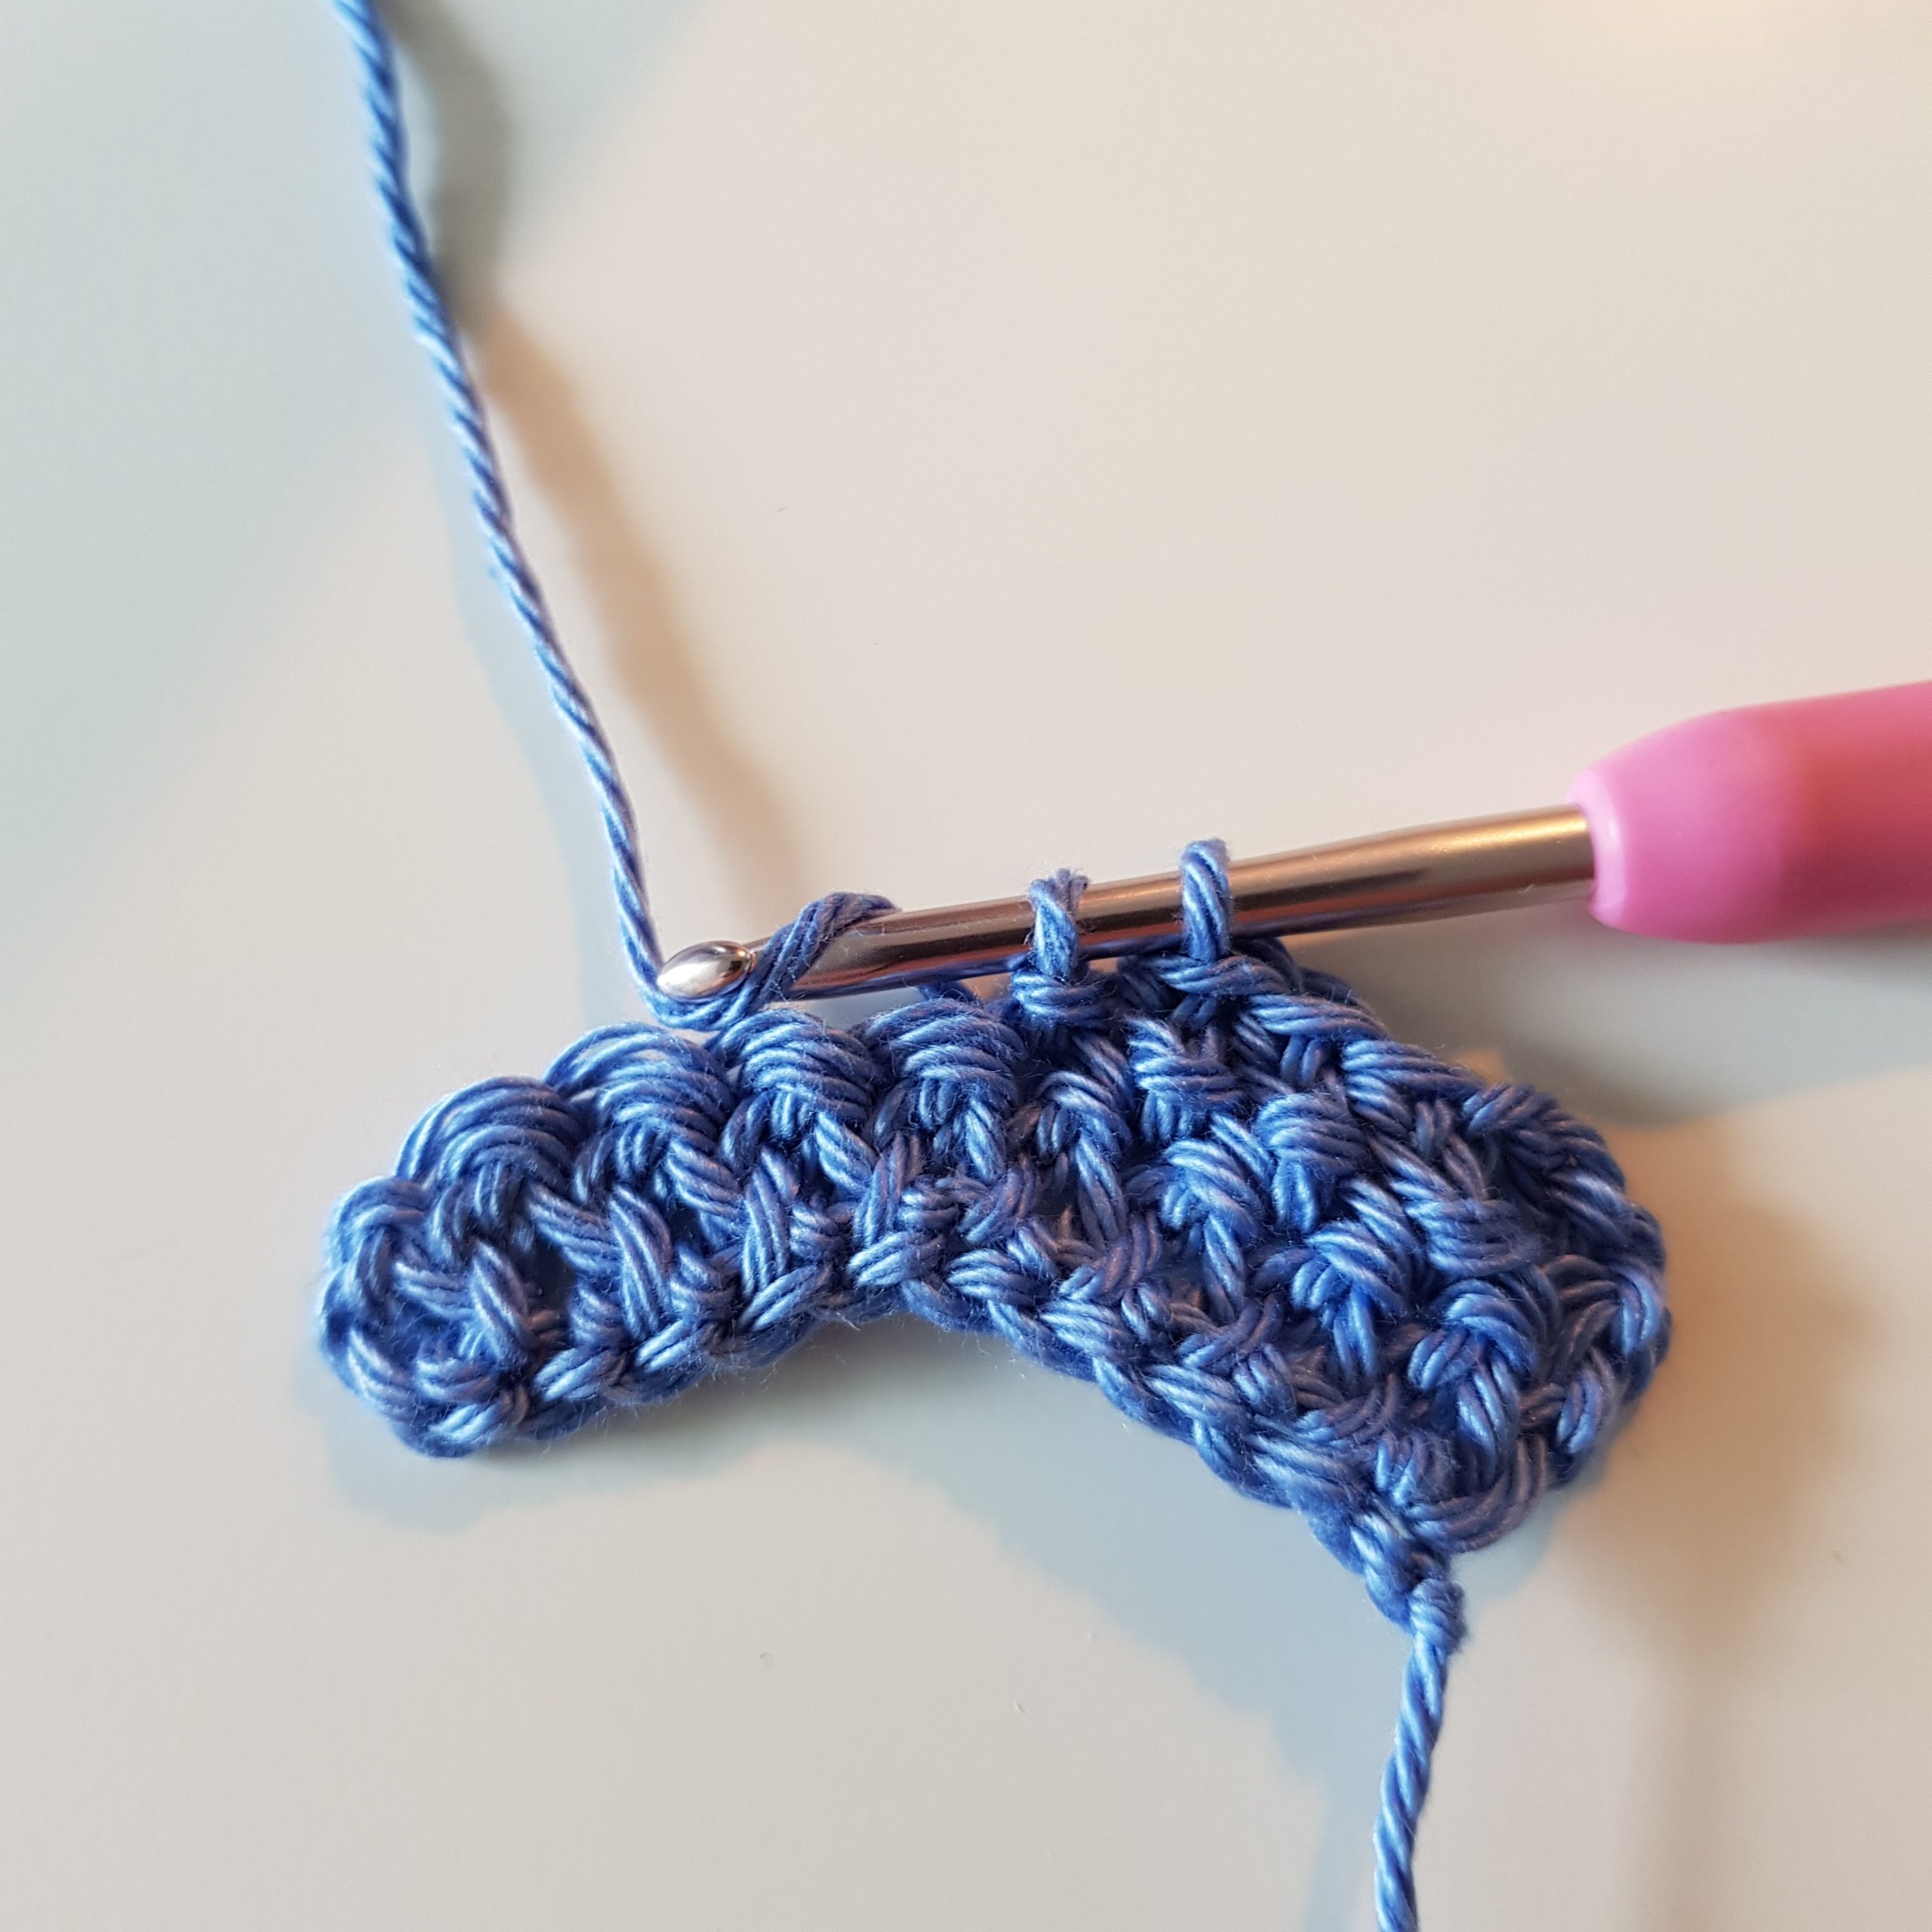
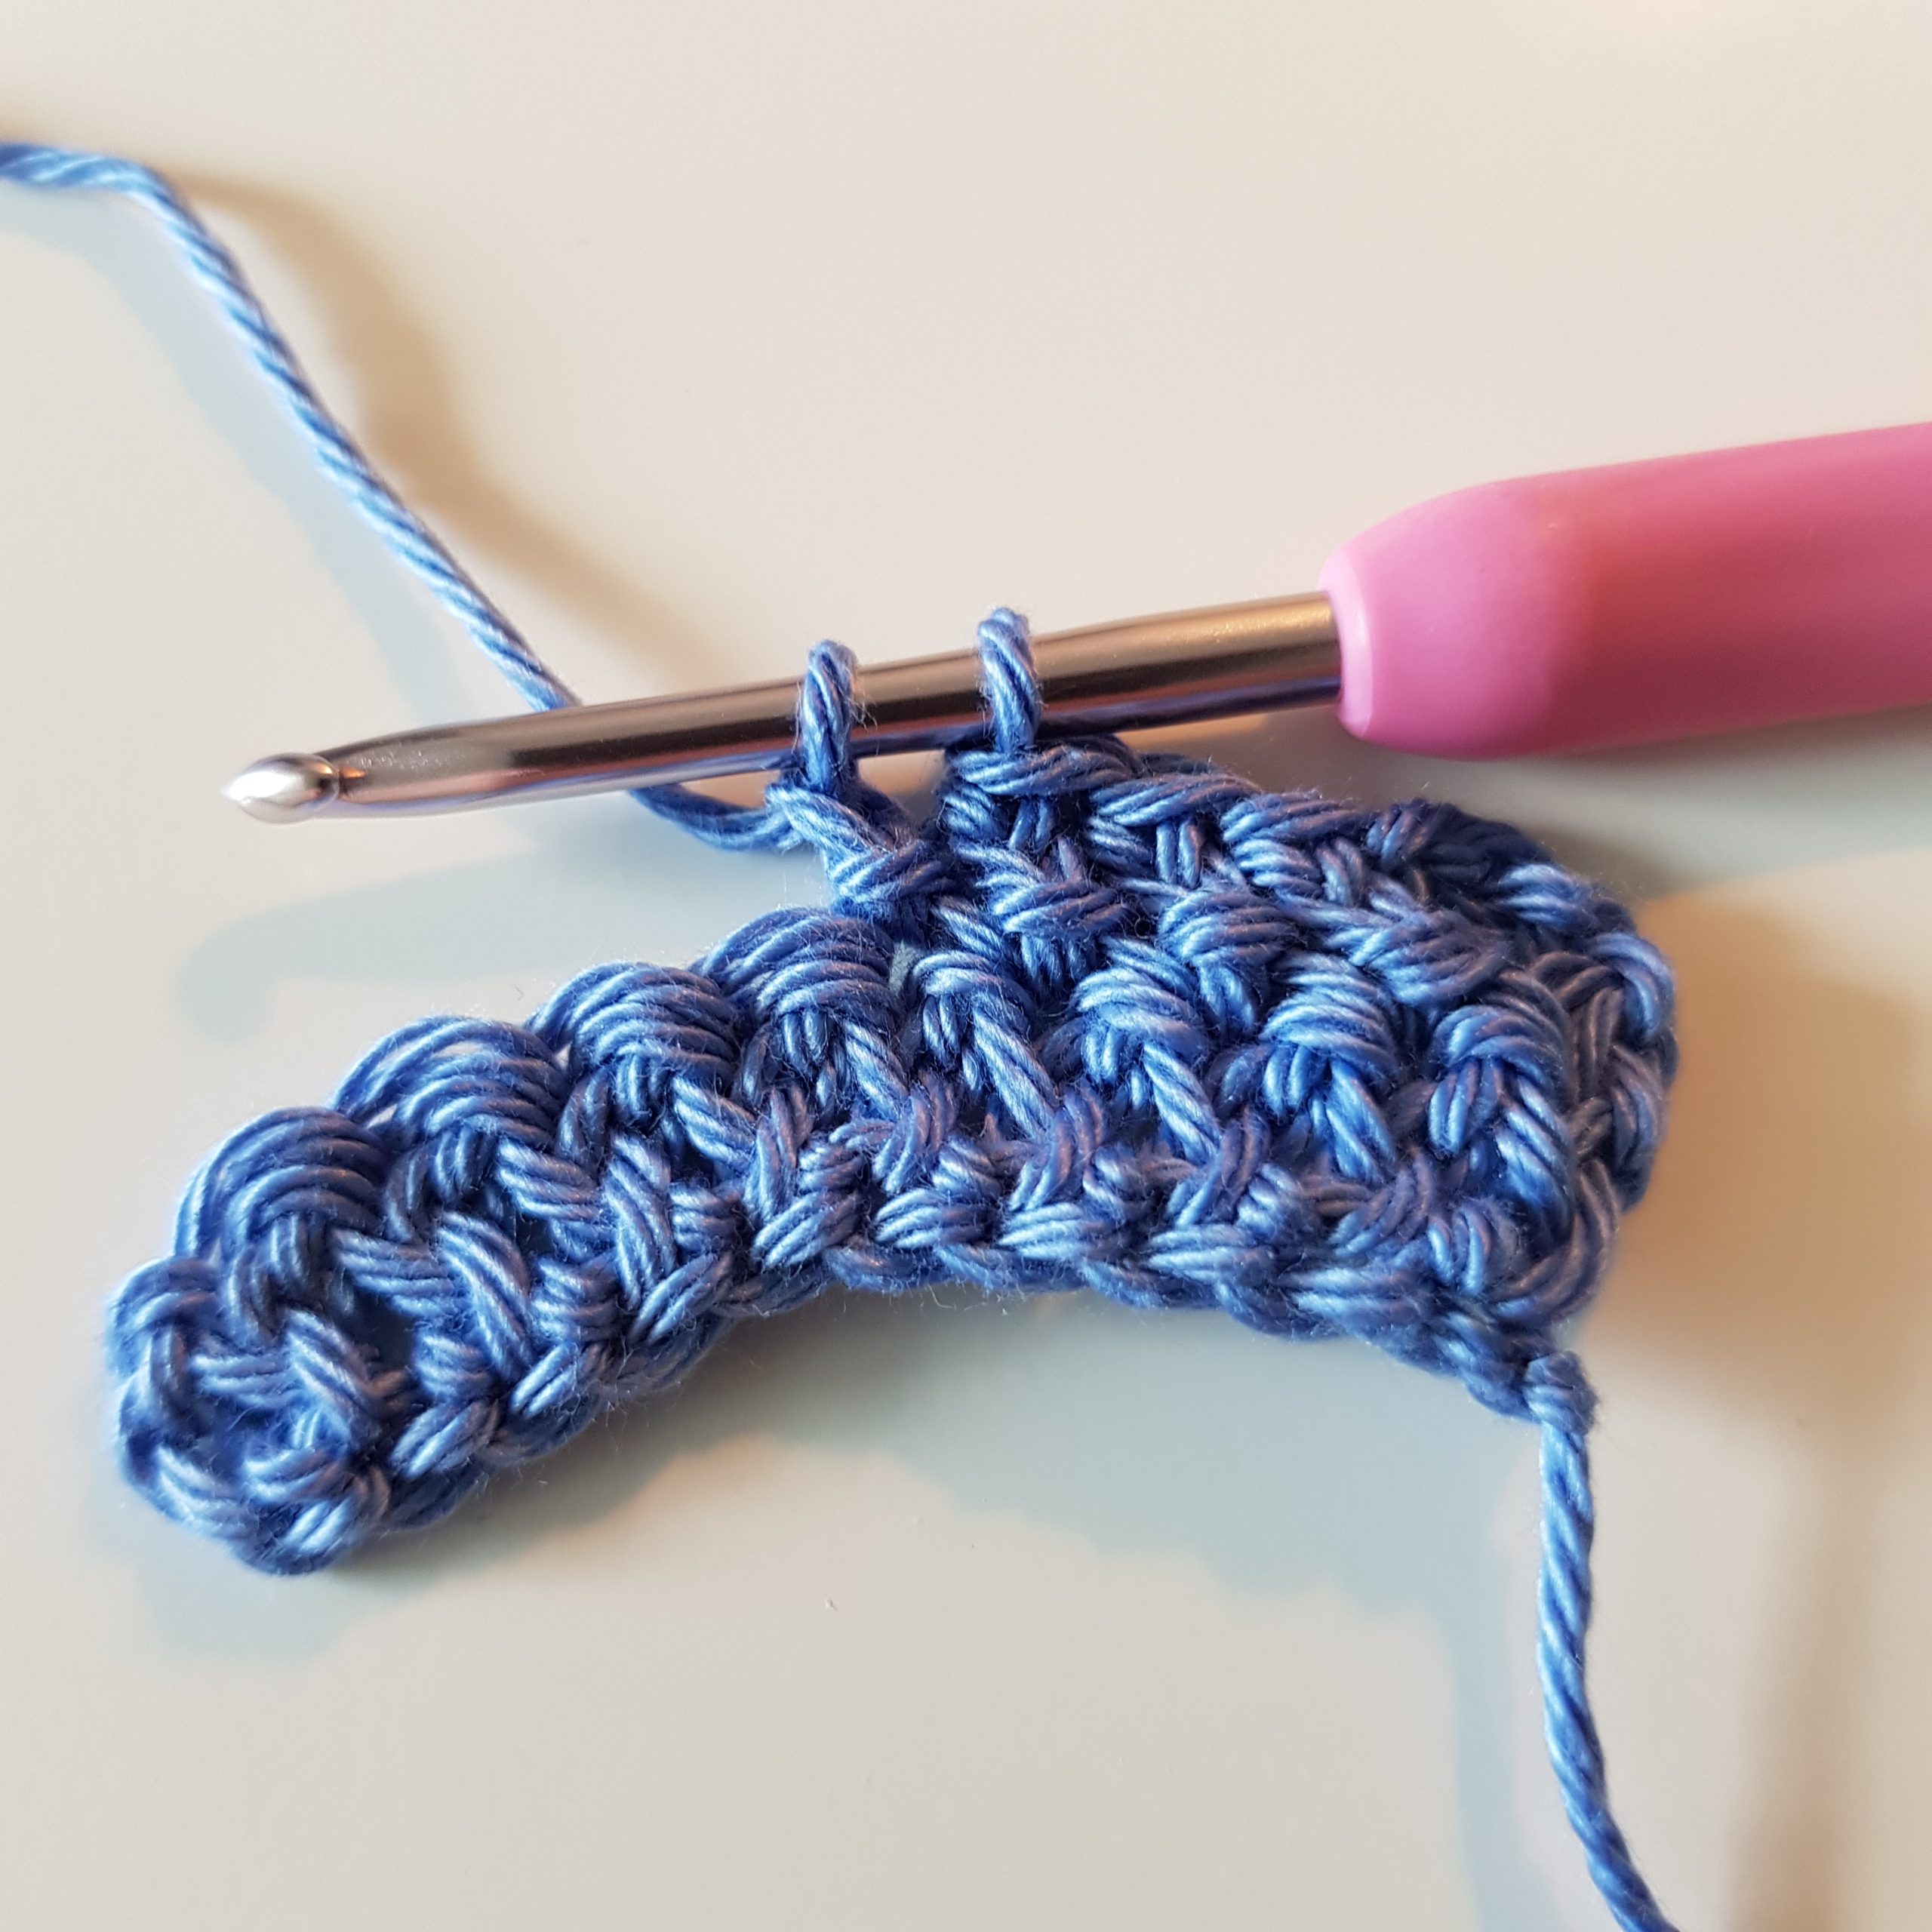
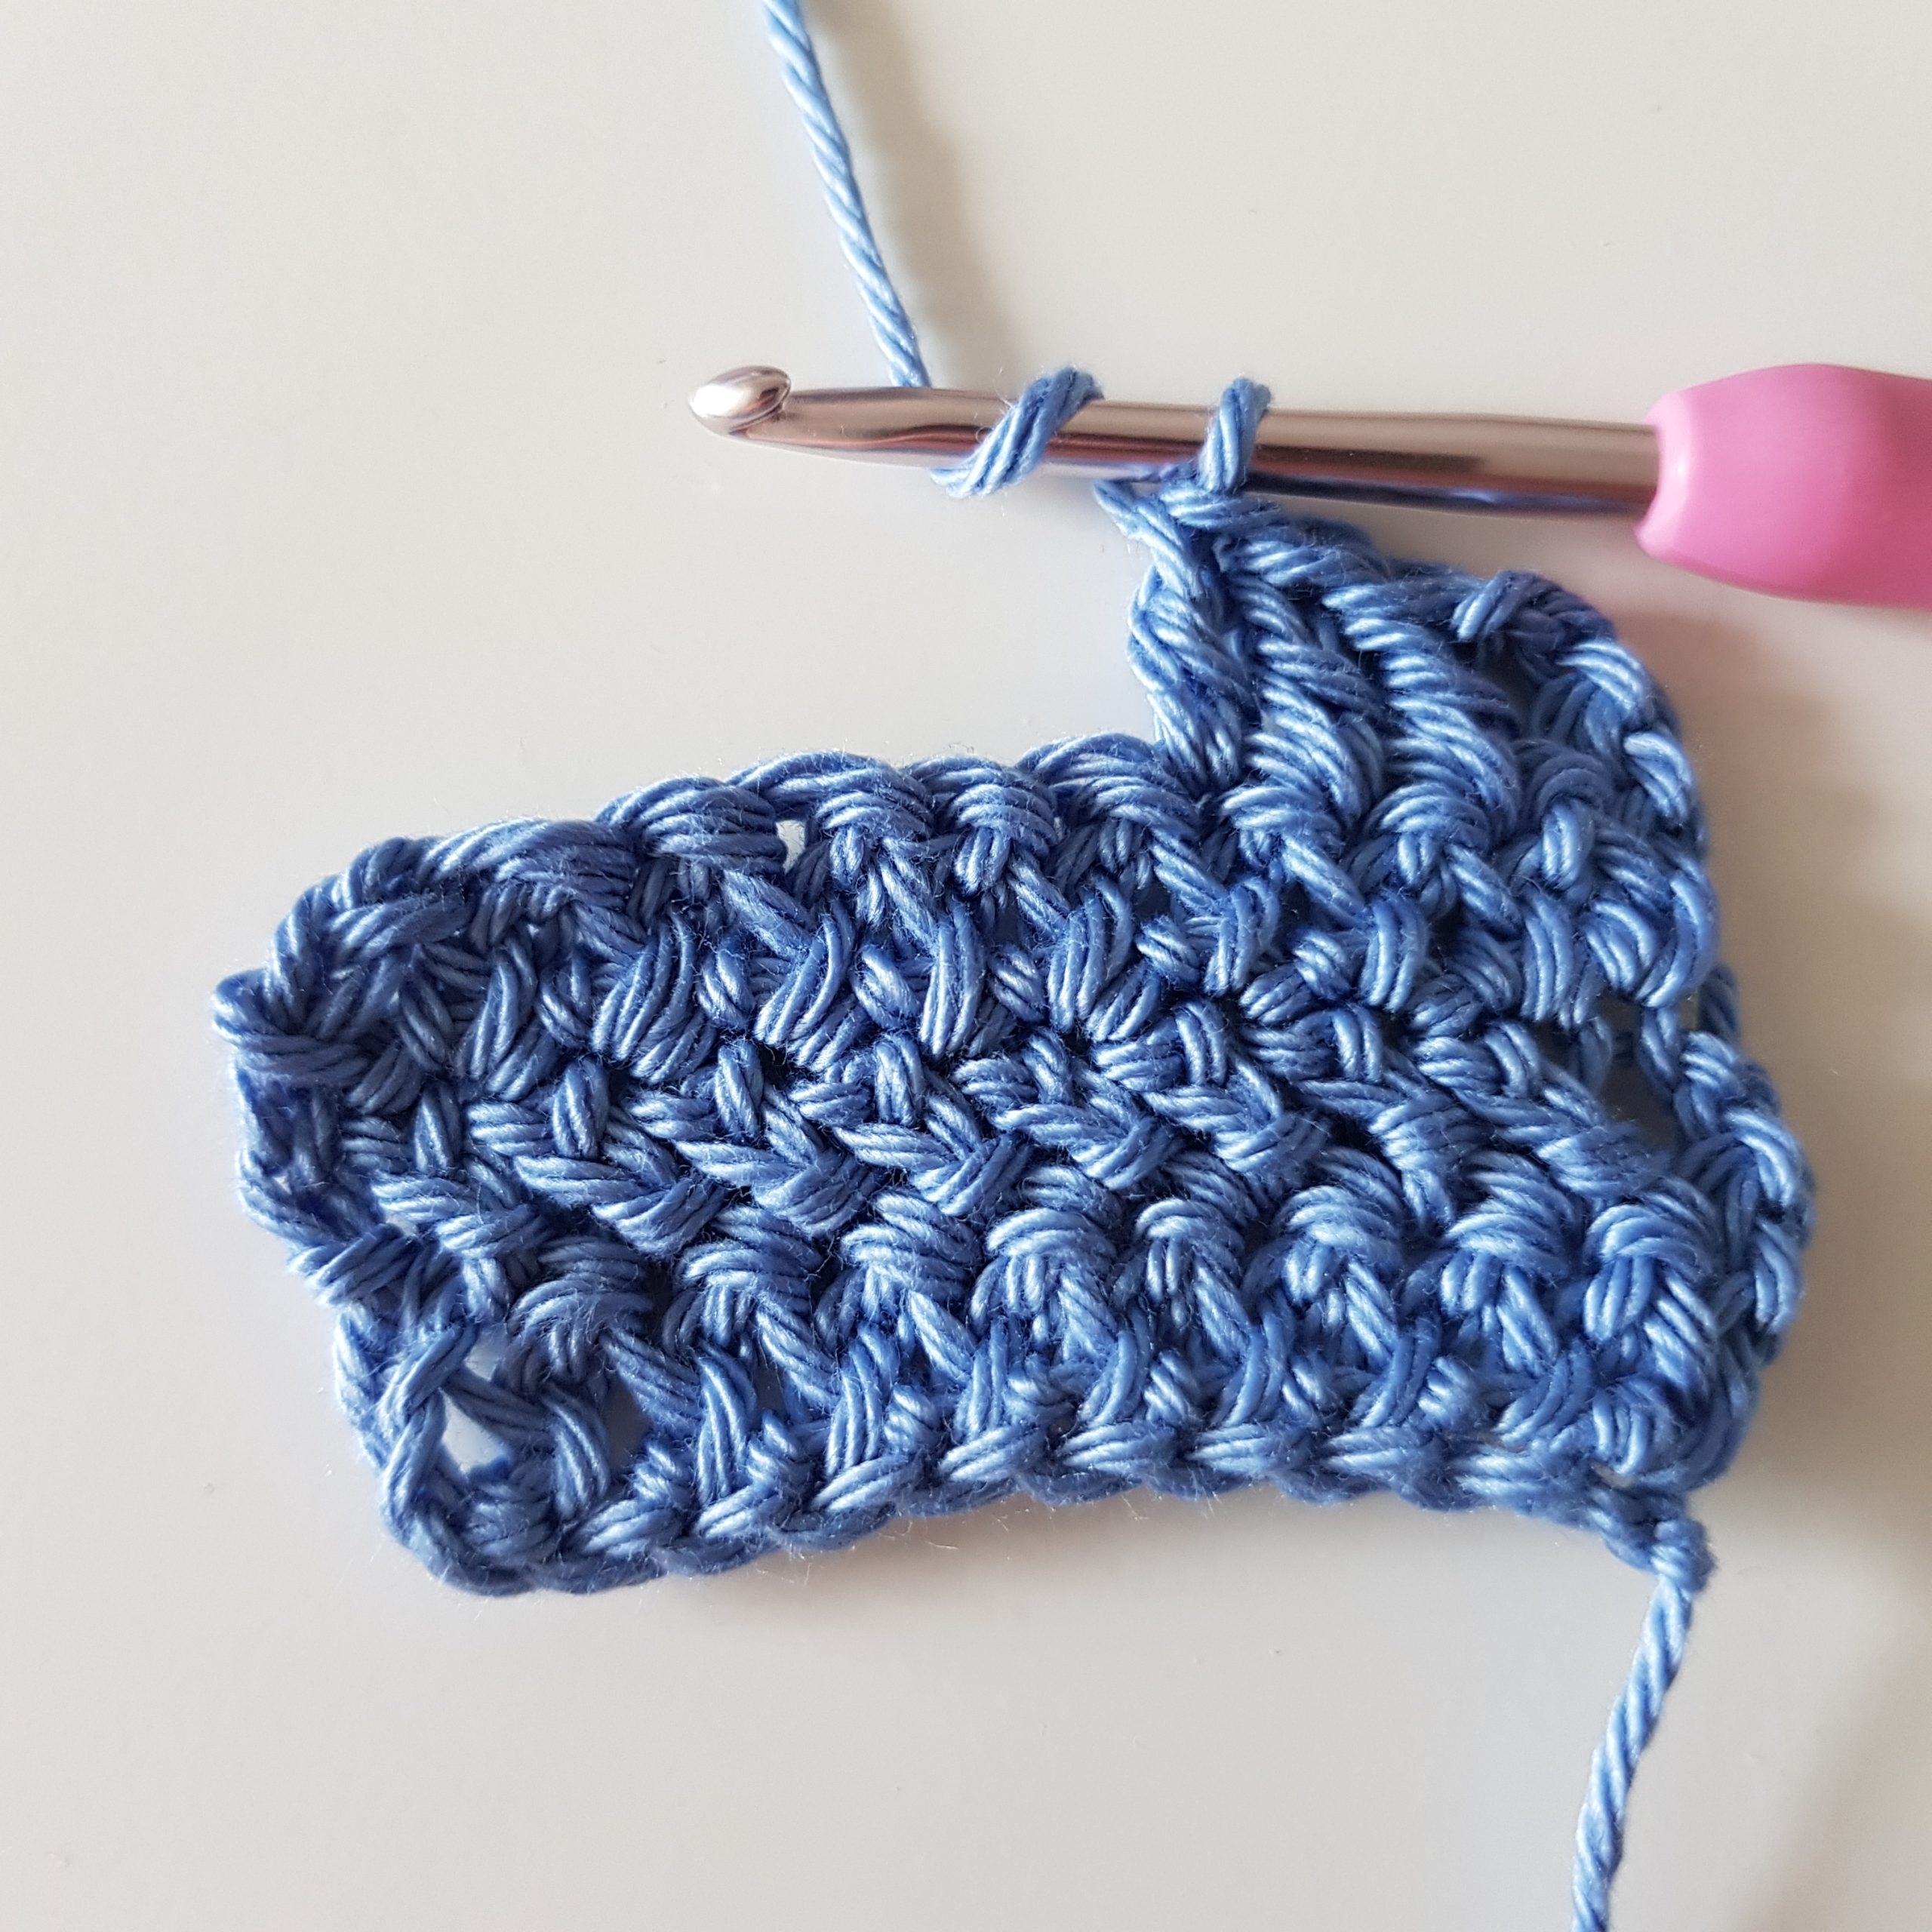
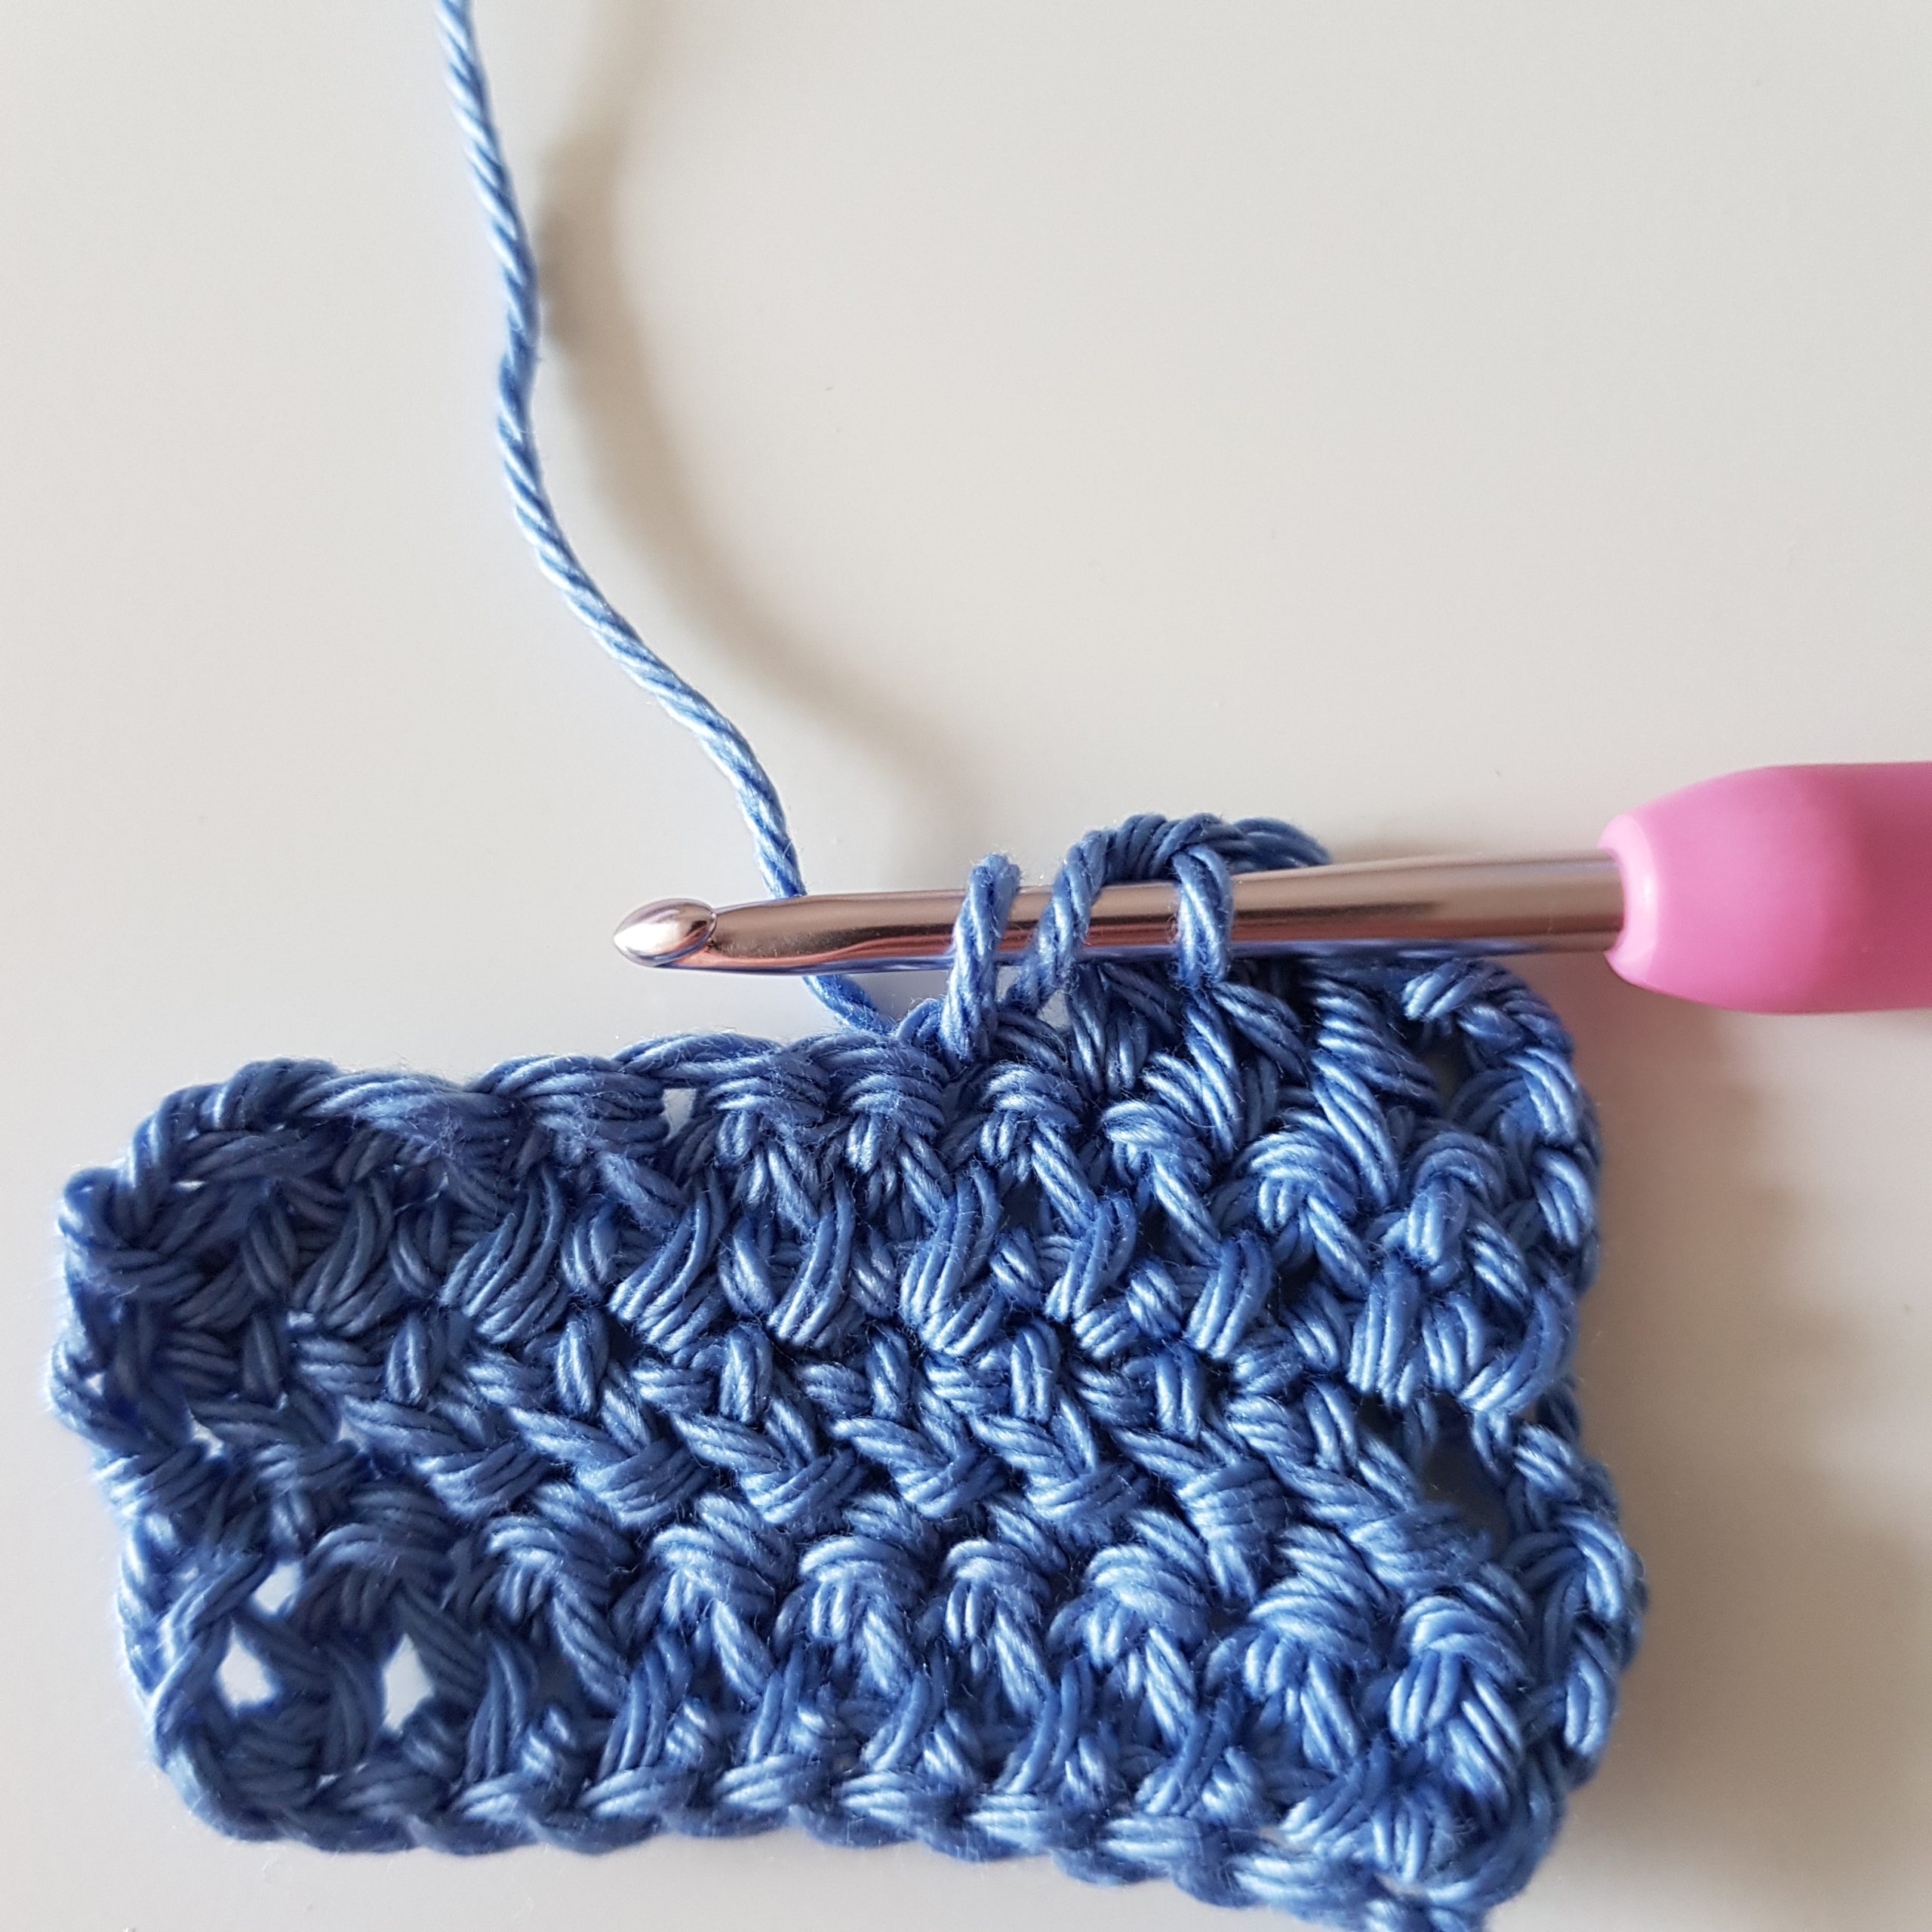
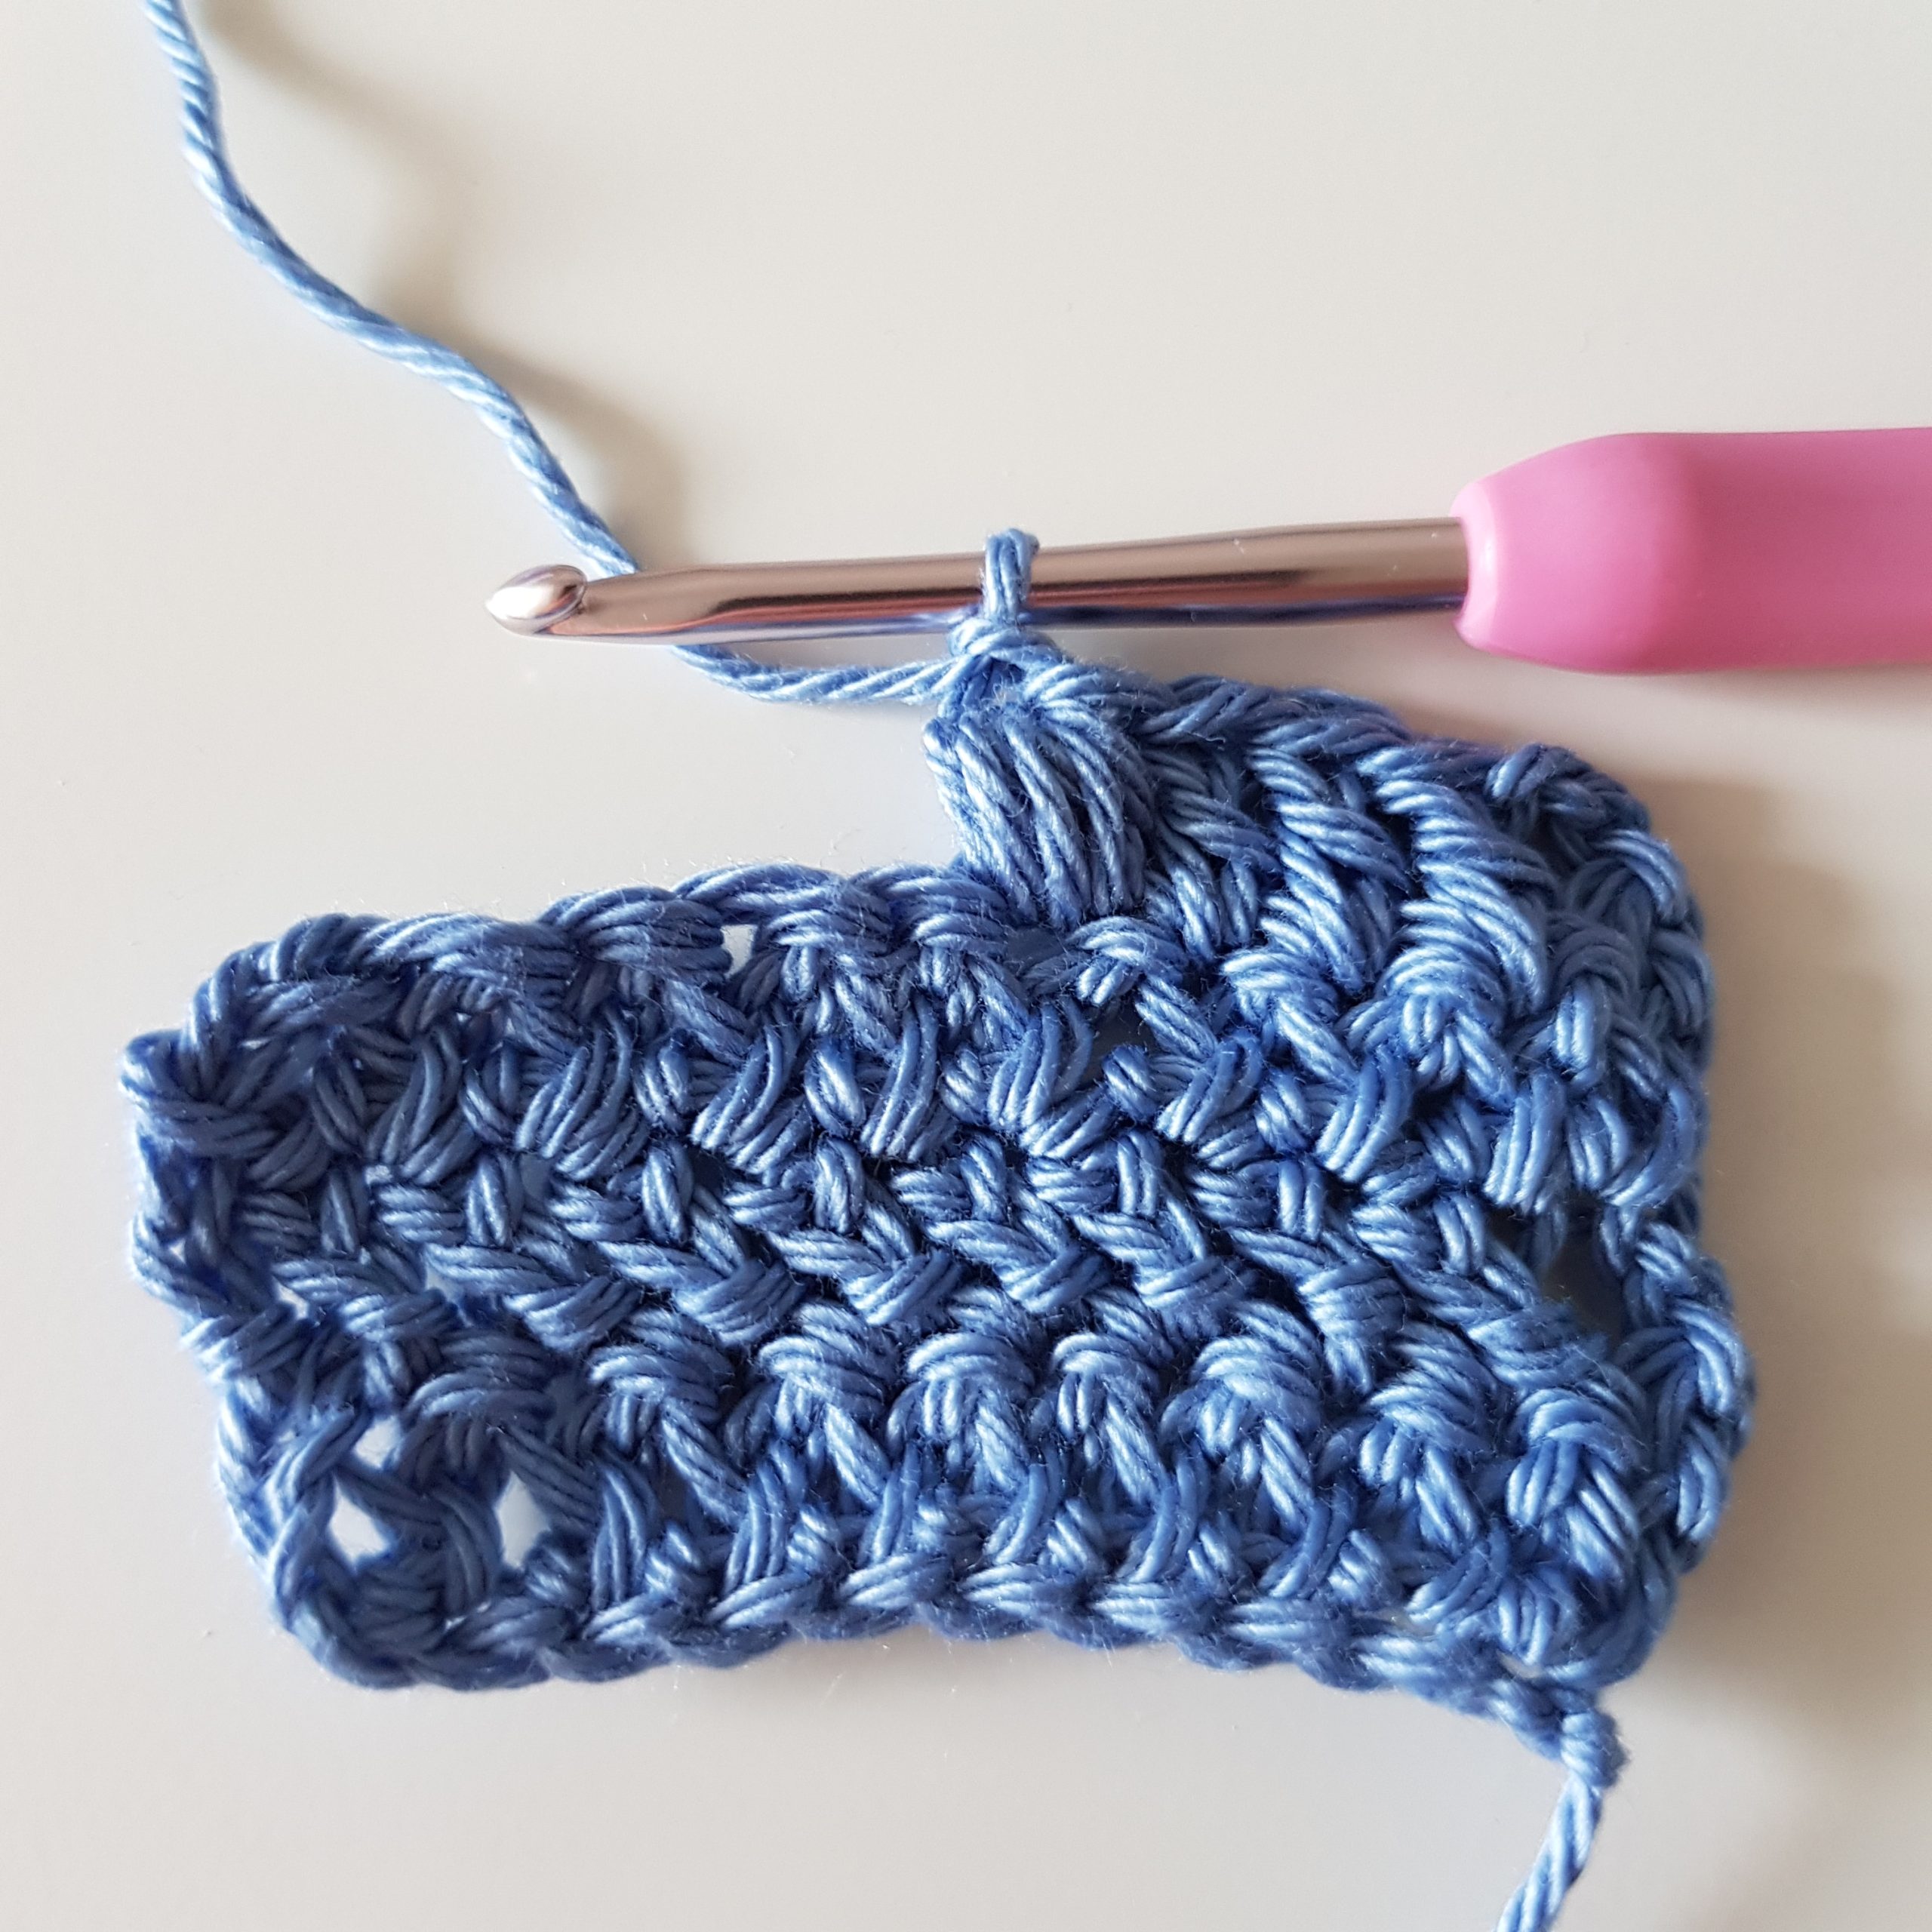
hbst – herringbonestitch (see tutorial)
frpsc – front post single crochet
puffst – puffstitch
sk – skip
standing sc – standing single crochet
standing dc – standing double crochet
Herringbonestitch:
Yarn over and insert the hook into the next stitch. Yarn over and pull the loop through the stitch AND through the first loop on the hook. Two loops remain on hook. Yarn over and pull through just one loop on hook. Two loops remain on hook. Yarn over again and pull the loop through both loops on the hook.
Puffstitch:
Yarn over and insert your hook into the next st. Yarn over and pull up a loop, pulling all the loops to the height of a dc stitch. 3 loops are now on the hook. Yarn over and insert your hook into the same stitch, yarn over and pull up another loop, pulling the height of these loops up to meet the others. 5 loops now on the hook. Repeat twice more, so that at the end of you have 9 loops on the hook. Yarn over and pull through all 9 loops. Work a ch st to close up the stitch
GOOD YO KNOW:
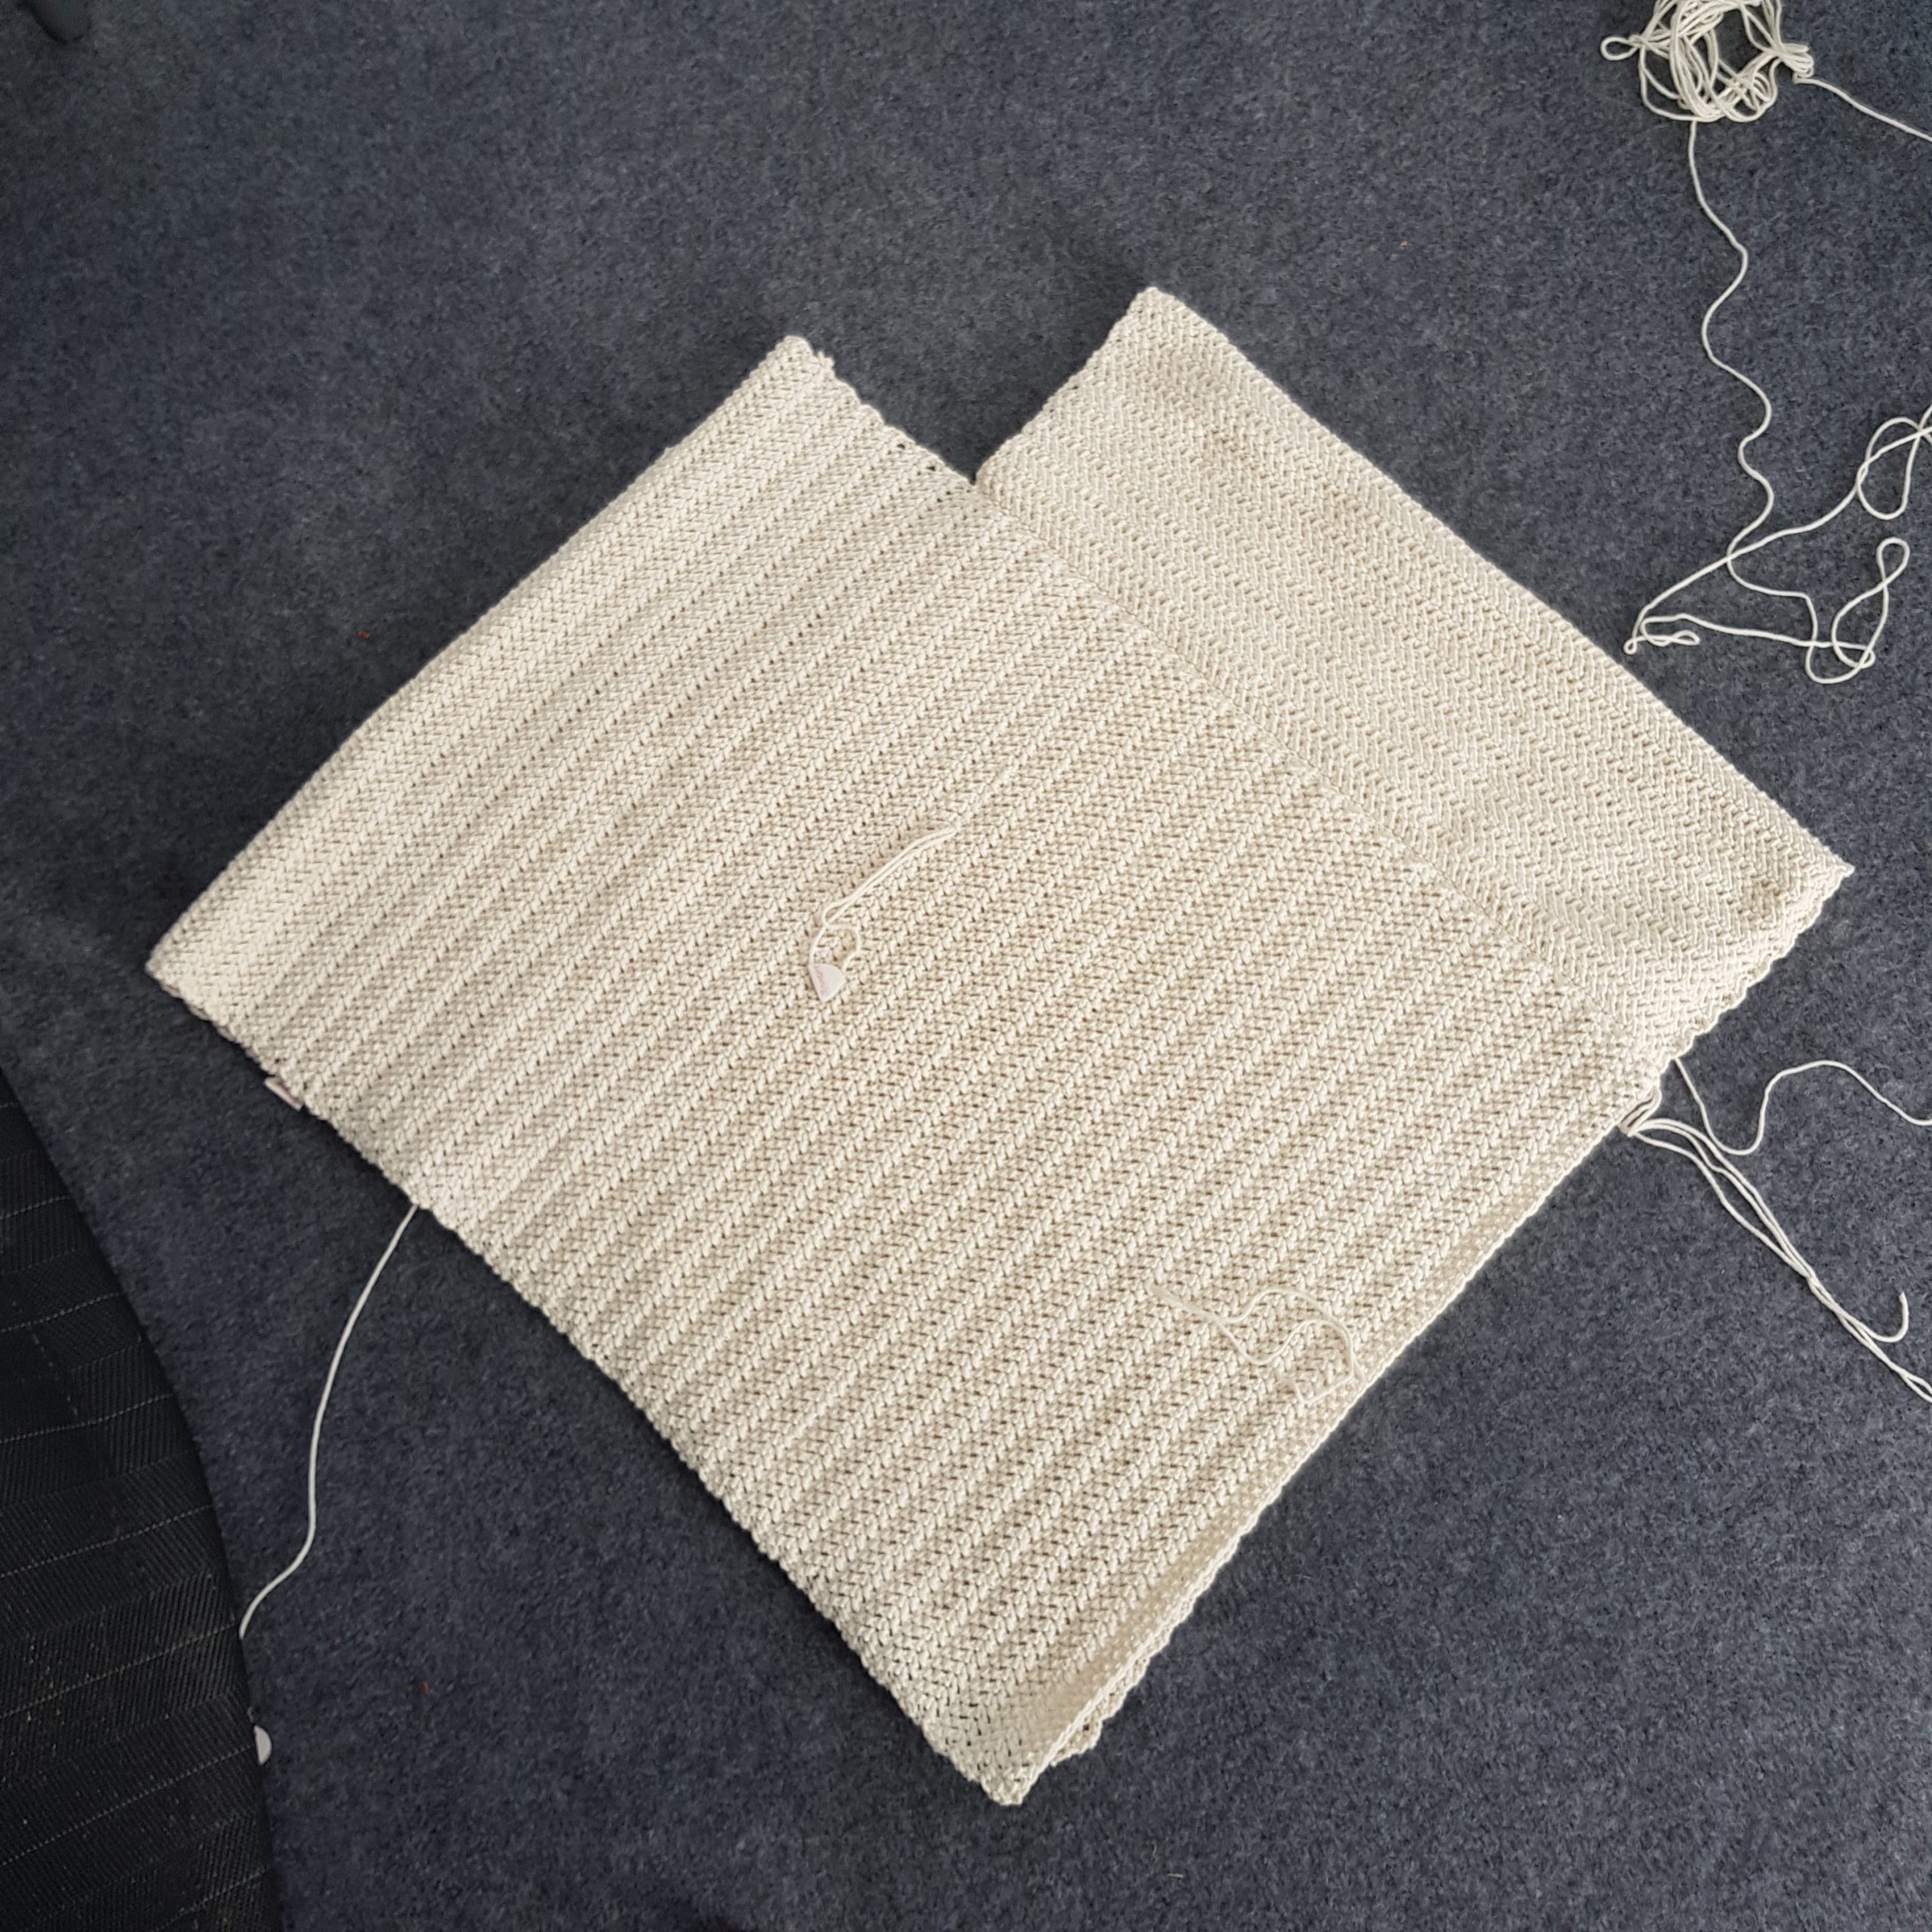
You will be making two rectangles to form the poncho, each rectangle measures approximately 40 x 70 cm.
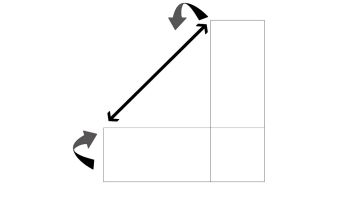
Once the rectangles are complete, you will sew or chrochet them together to form a simple poncho shape. There is a diagram to help you!
Repeat *-* untill the end of the round
Turn with a ch2
PATTERN:
Foundation 68 ch’s using the 4,5 mm hook and Scheepjes Soft Fun
Change to your 4,0 mm hook
Row 1: 1 hbst in fourth ch from your hook, 1 hbst in every st (65 hbst), turn with ch2.
Repeat this row until you have a rectangle that measures approximately 70 cm.
Make one more rectangle the same way.
ASSEMBLY:
Fold your rectangles according to the diagram and hold edges in place with (safety) pins. Make sure the ridged sides of the fabric are both facing the same way. Either chrochet or sew your rectangles together.
OUTER EDGE:
Row 1: Use your main colour. Start with a standing sc, make sc’s around, 1 sc in every st and 2 sc in every dc. In the corners you make (1 sc, ch1, 1 sc. Join with a slst in the first st.
Row 2: Ch1, 1 sc around, in the corners make (1 sc, ch2, 1 sc). Join with a slst in the first st. Fasten off.
Row 3: Change to your contrast colour yarn. Start with a standing dc in the corner you want you have in the back of your poncho, *puffst, ch1, sk 1 st*,repeat until you reach the chsp in the front of your poncho, (2 dc, ch2, 2 dc), *puffst, ch1, sk 1 st*, repeat until you reach the chsp in the back (2 dc, ch2, 1 dc. Join with a slst in the first st. Fasten off.
Row 4: Change to your main colour yarn. Start with a standing sc in the chsp at the back, 1 dc *frpsc around puffst, dc in the sk st* repeat until you have 2 dc left until the chsp, 2 sc (2sc, ch1, 2 sc) in the chsp, 2 sc, 1 dc *frpsc around puffst, dc in the sk st*, repeat until you have 2 dc left until the chsp, 2 sc (2 sc, ch1, 1 sc) in the chsp. Join with a slst in the first st. Fasten off.

NECK:
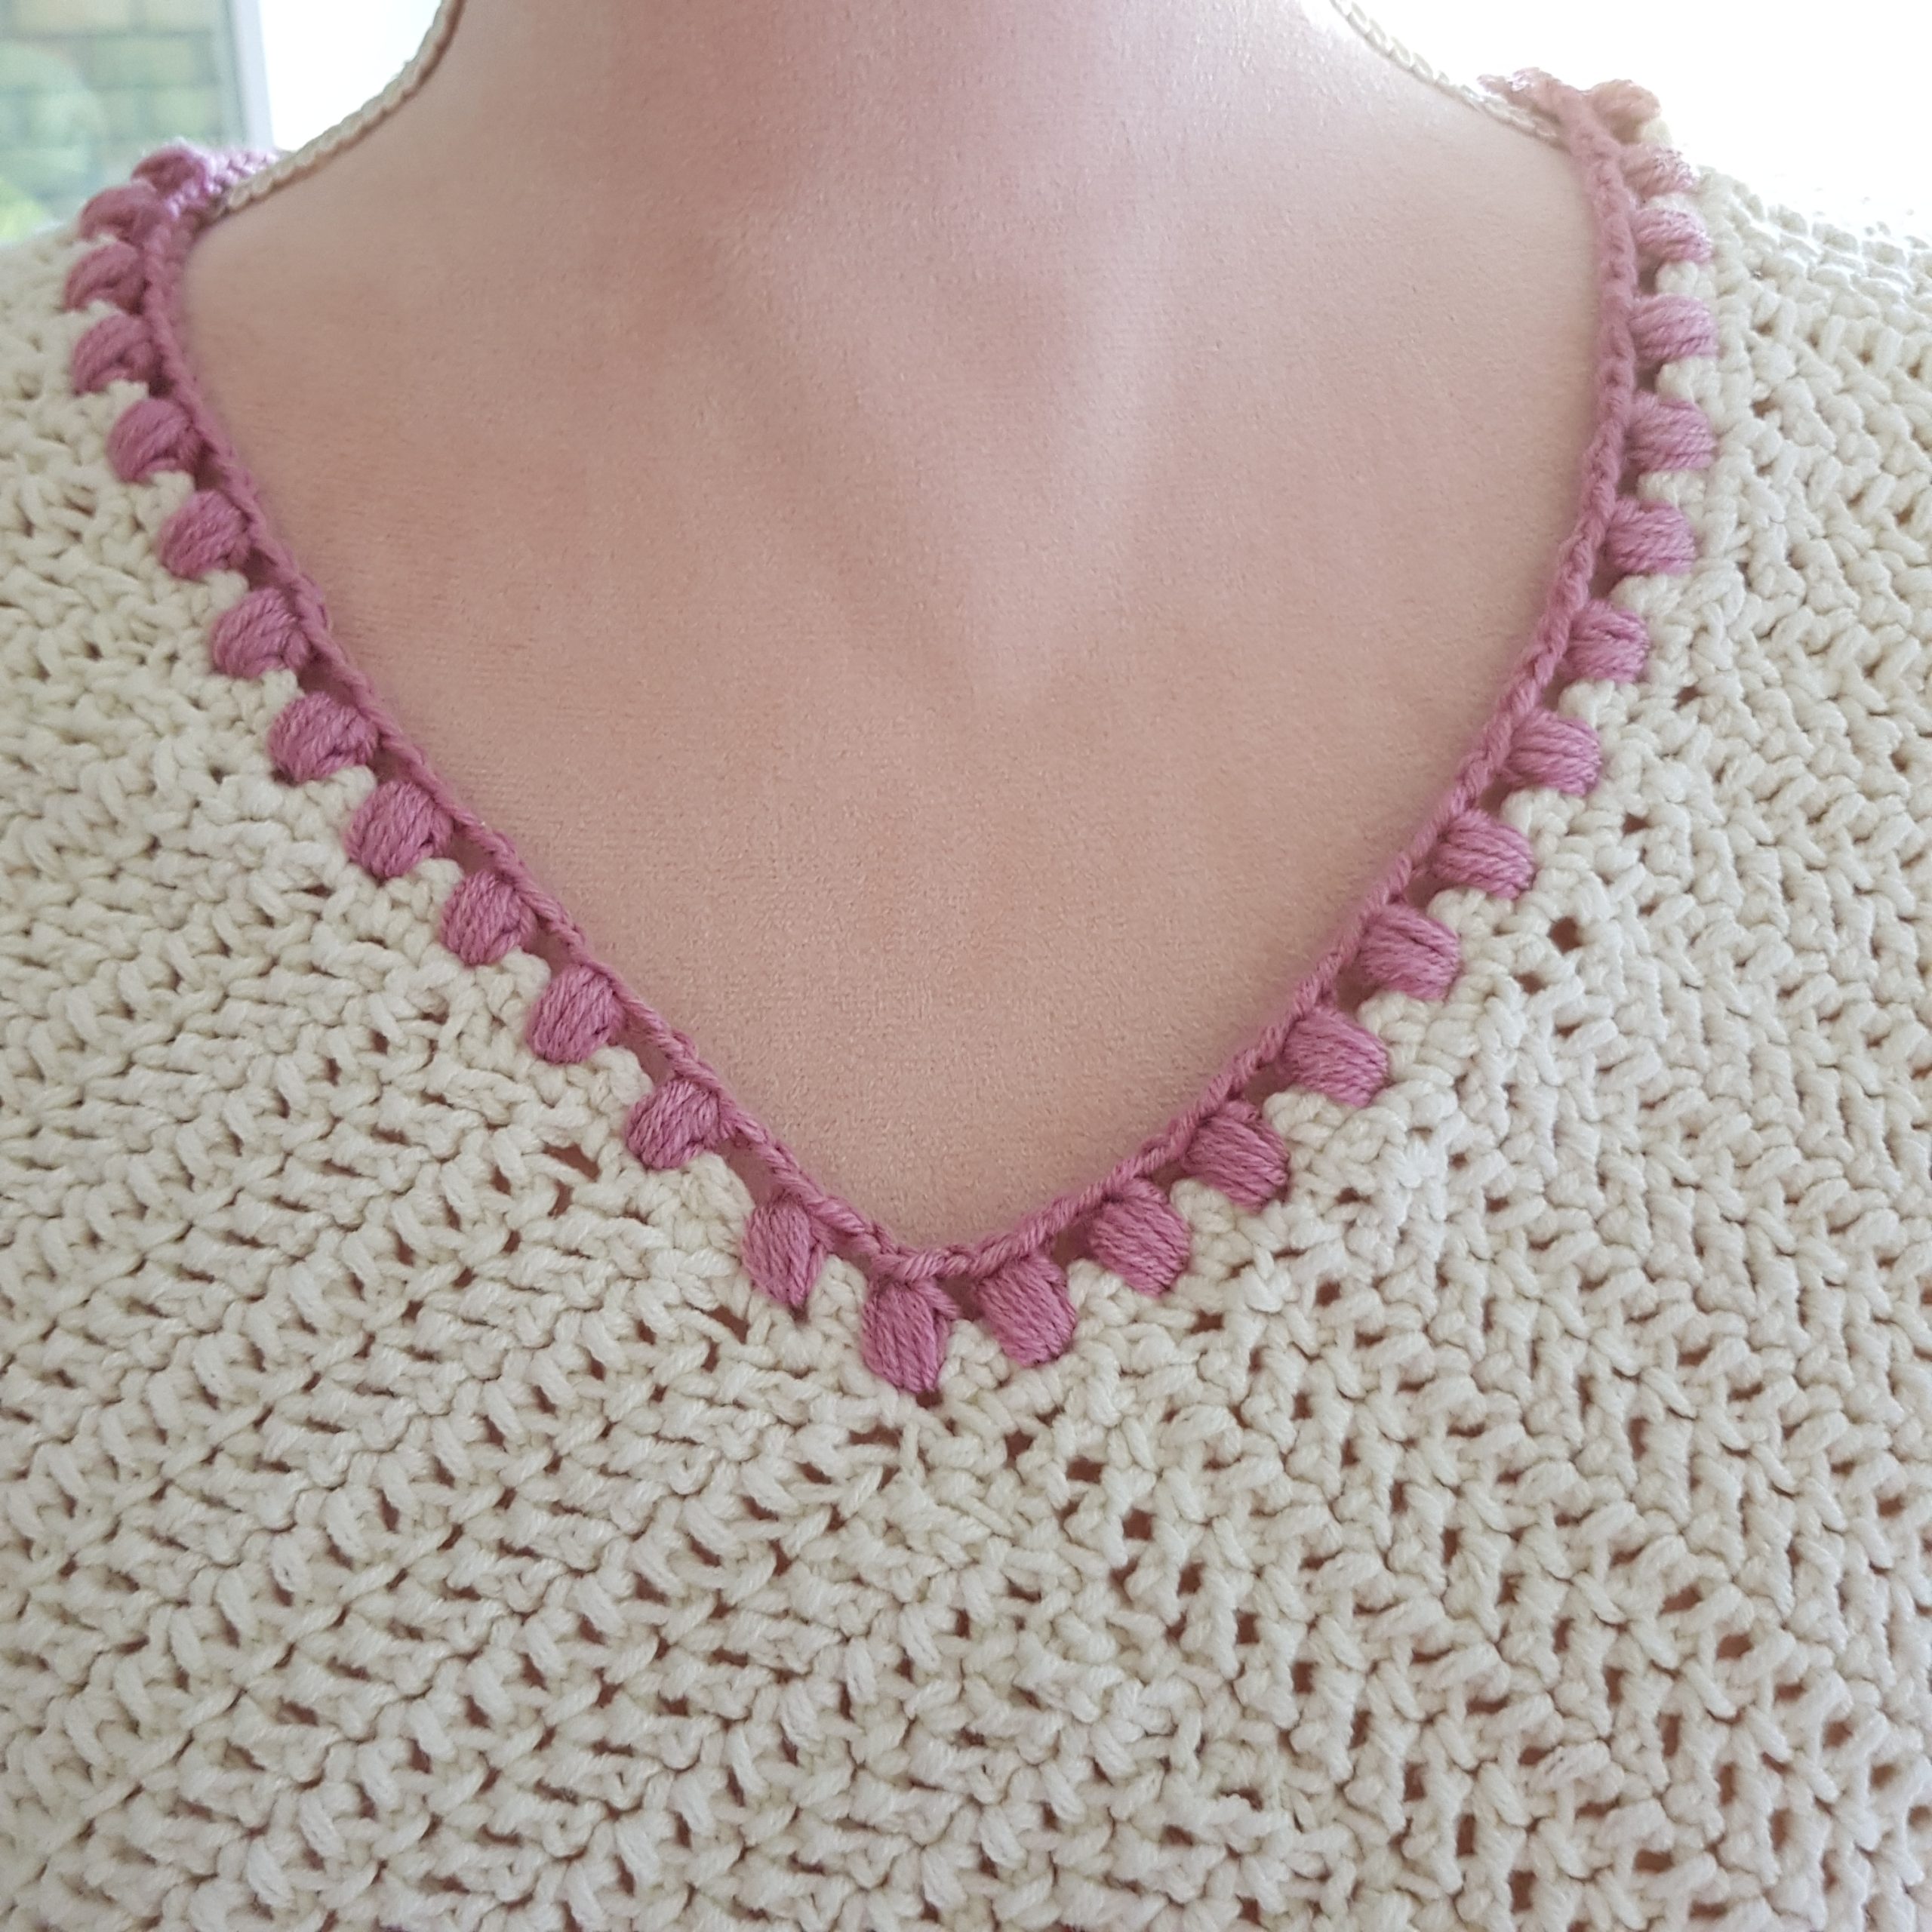
Row 1: Use your main colour. Start with a standing sc in the back V of the neck, make 2 sc around every dc around. Join with a slst in the first st.
Row 2: Ch2, sk 1 st *1 sc, ch 2 sk 1* repeat around. Join with a slst in the first st. Fasten off
Row 3: Change to your contrast colour. Start with a standing sc in the back, ch2, *1 puffst in chsp, ch1m, sk 1* repeat around, Fasten off.
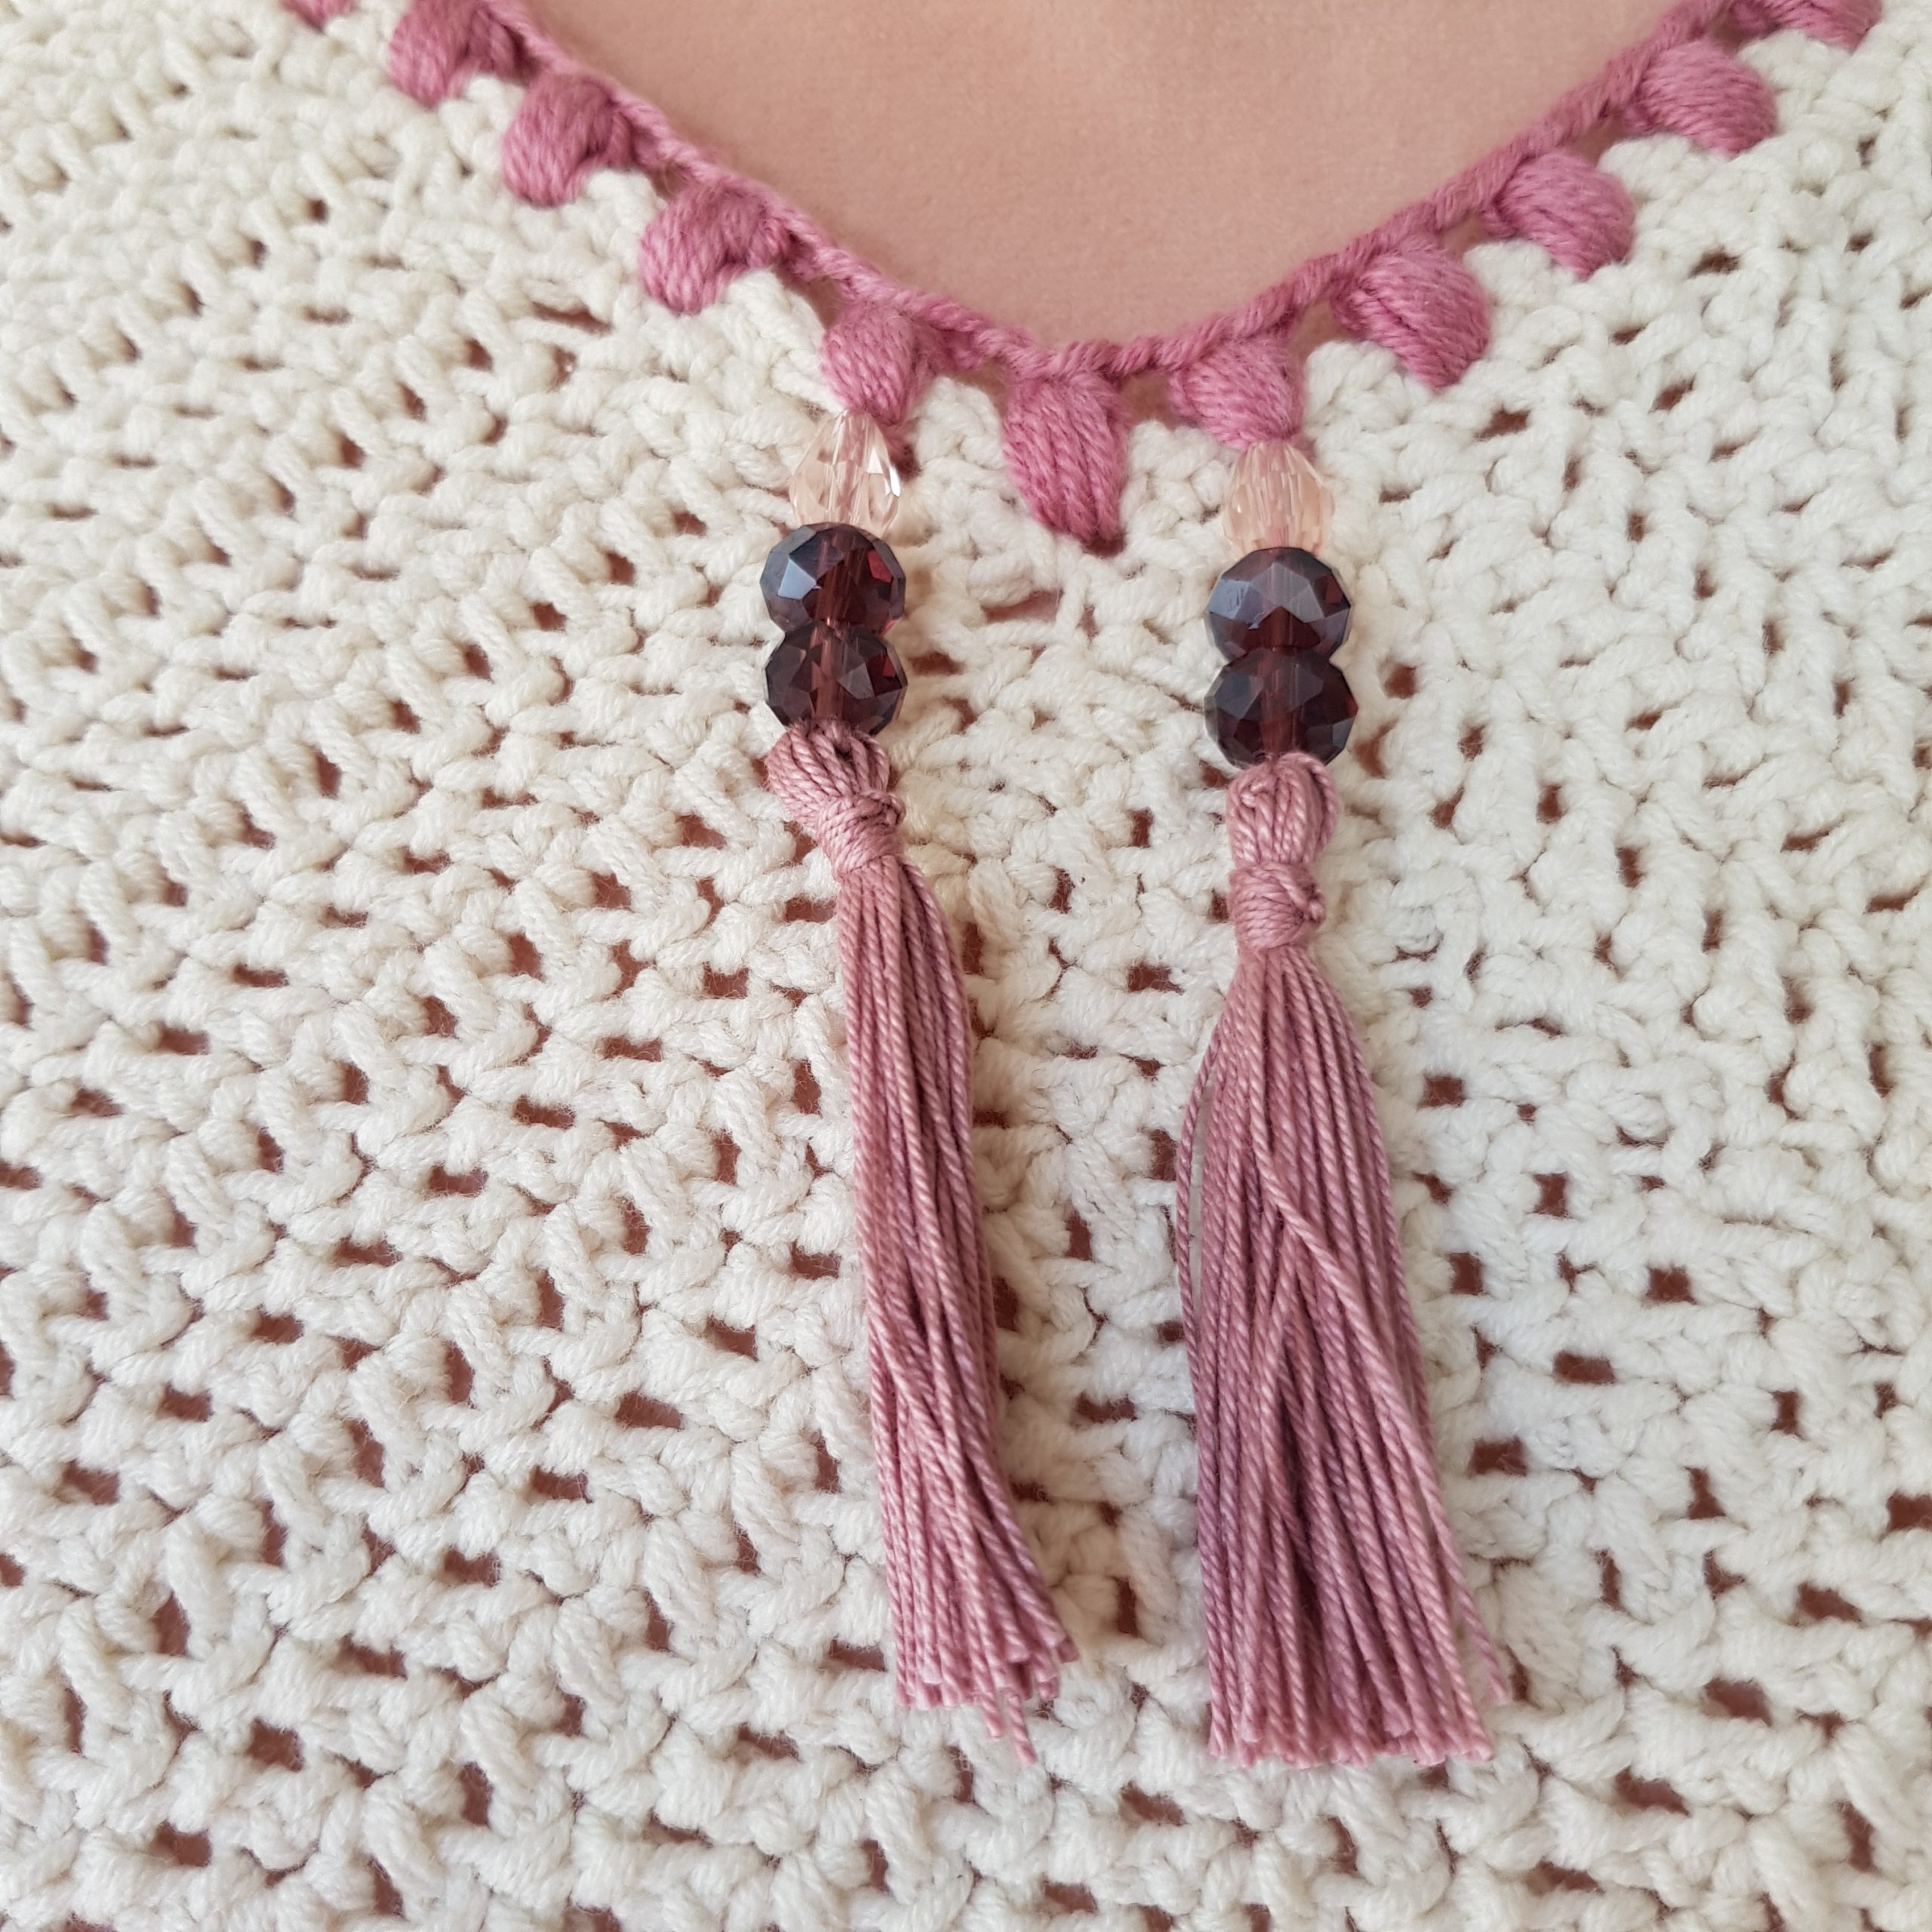
If you want to spice your pocho a little make some tassles and tie them in front of the neck.
Good Luck with your Topaz Poncho


